05-14-2011: 4 hrs
After drilling out all rivets on the bottom rib to rudder skin, re-riveted the bottom rib and skin, including the missed parts bottom attachment strips and rudder horn brace.The rudder horn brace is painful to rivet, especially two end rivets of the 4 rivets (each side) attaching horn brace to the bottom rib and skin. I could not get anything there, squeezer and bucking bars. Finally, I used 5 washer plus the tallest flat squeezer set on the pneumatic squeezer so I can squeeze the aft end rivet. The fwd end rivet is still a pain to rivet. After trying some crazing ideas, including using a big alen wrench tied to the tungsten bucking bar as bucking tool, I decided to use the CS4-4 pop rivets at this location. I did use countersunk bit to make it flat because CS4-4 is one size bigger than 426AD3 solid rivet.
The other location I had trouble with is the last three rivets of the bottom rib. again, I searched vansairforce.net and found some builders used the chisel and screw drivers, together with back riveting plate to get it done. I tried out this method, and it worked, even though the rivets don't look as good as shown in vansairforce.net pictures. Well, remember that even the worst driven rivet still has 90% of full strength, I can live with that.
Started tackling the trailing edge. Instead of using aluminum angel per instruction, I used a flat wood plate. I drilled into the wooden piece using the holes on the trailing wedge as guide. Then clecoed the skins and wedge to the flat wooden piece to make sure the trailing wedge is indeed straight. Then disassembled. Mixed some 30 min epoxy, thinned with acetone. Applied the epoxy to the wedge, and clecoed everything back to the flat wooden piece. Looking prett straight. Will wait some time for the epoxy to cure.
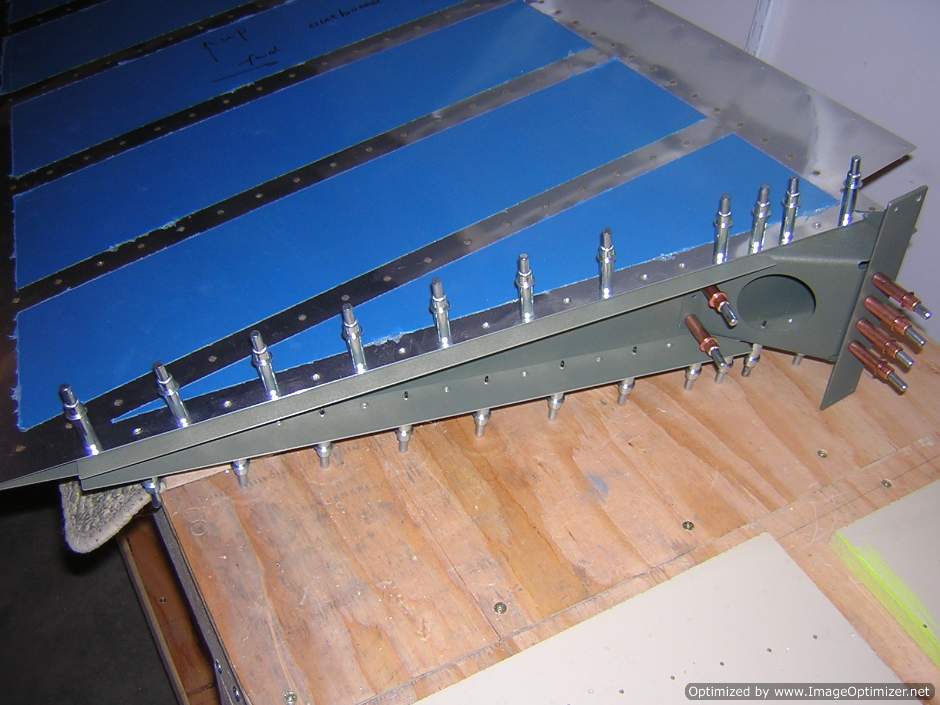
Bottom attachment stris and rudder horn brace are clecoed to the bottom rib and skins
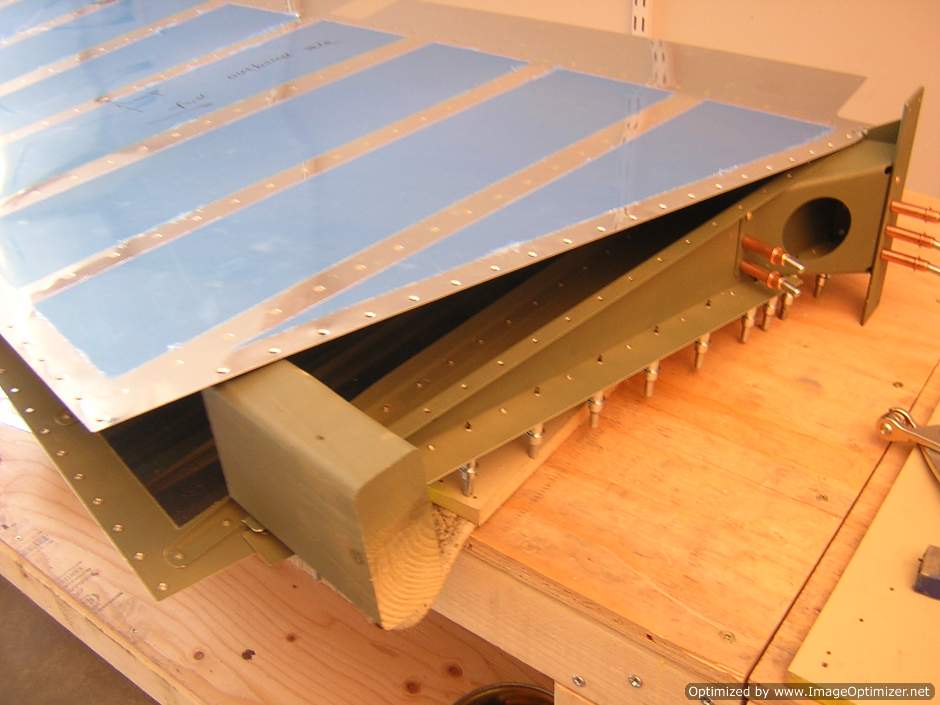
Need to open the skin in order to rivet the horn brace to the web of bottom rib
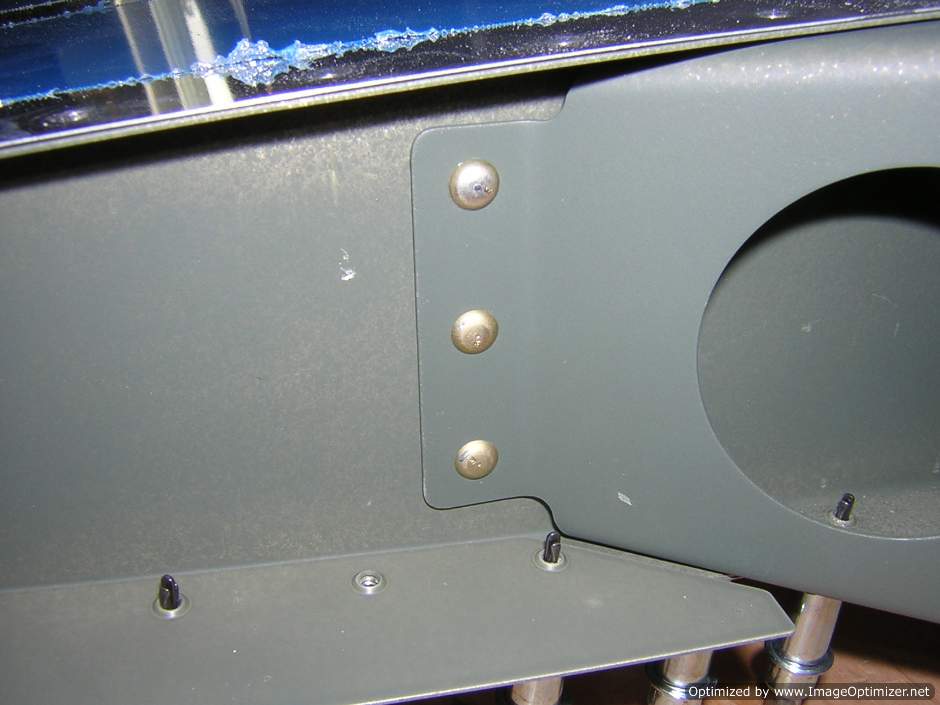
Horn brace is riveted to the web of bottom rib
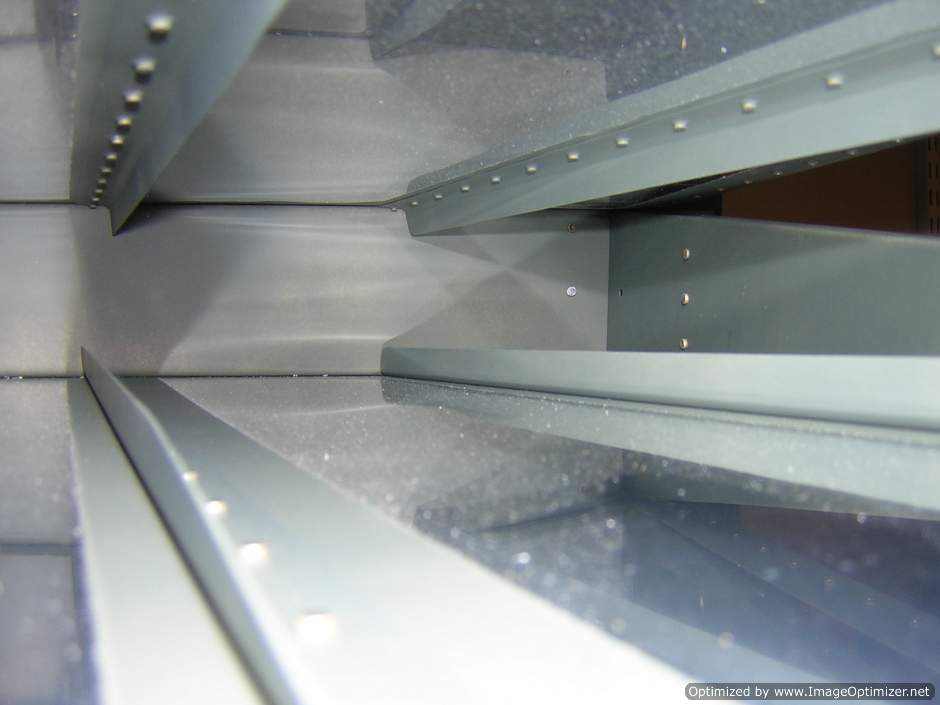
The shop heads of the horn brace to bottom rib web rivets, not bad
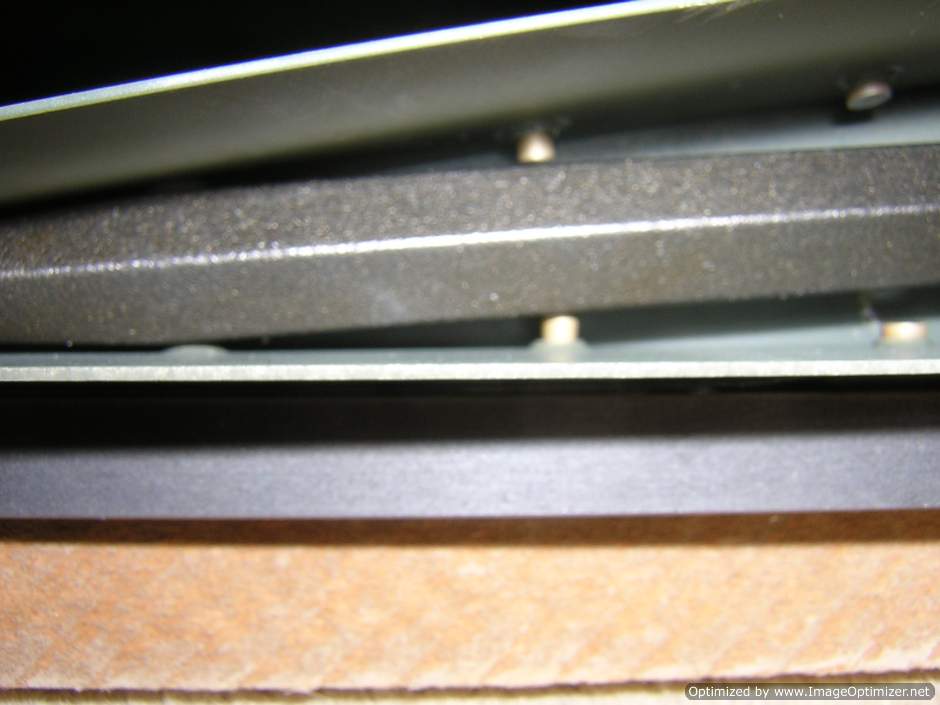
Chisel is used to rivet the last three rivets on the bottom rib
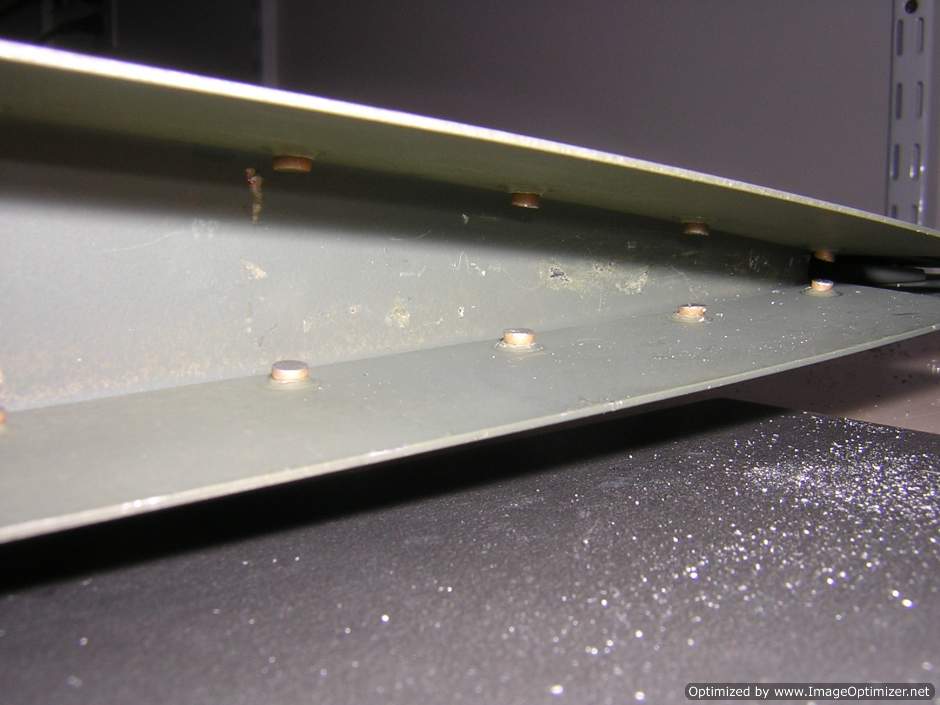
Shop heads of the last three rivets on bottom rib, not too bad
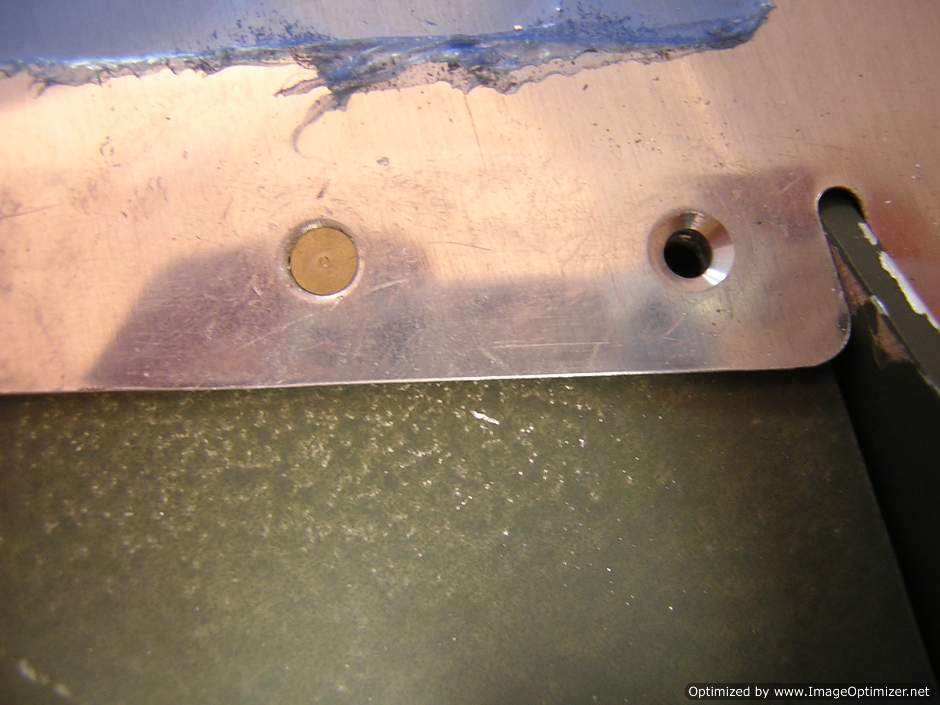
The dimpled hole (for 426AD3 rivet) on the skin is counter sunk to receive CS4-4 pop rievt. This location is so hard to reach to use solid rivet
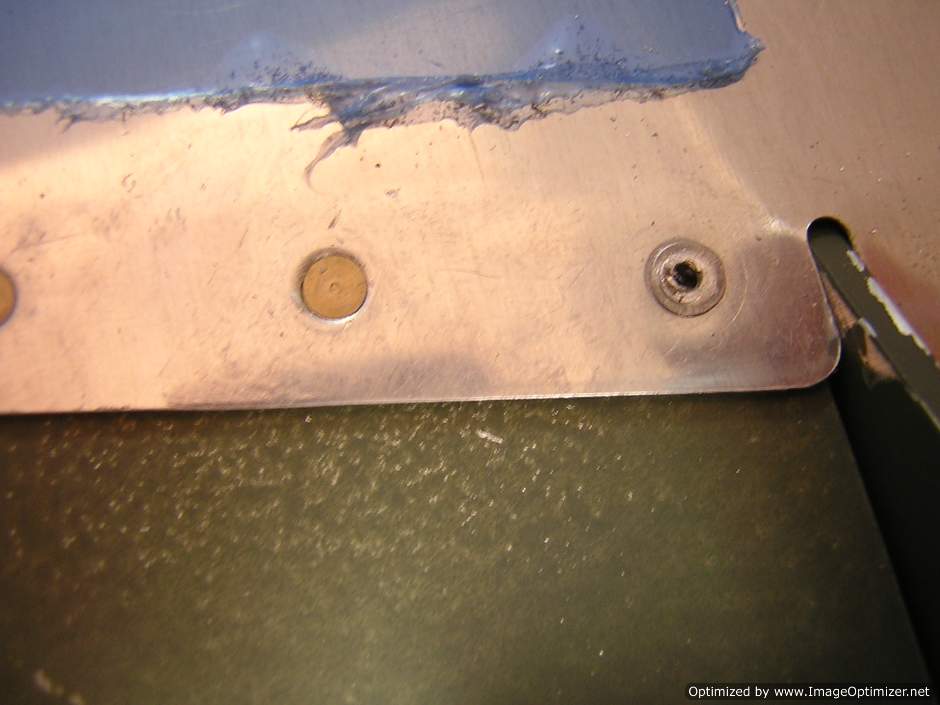
CS4-4 pop rivet is used here
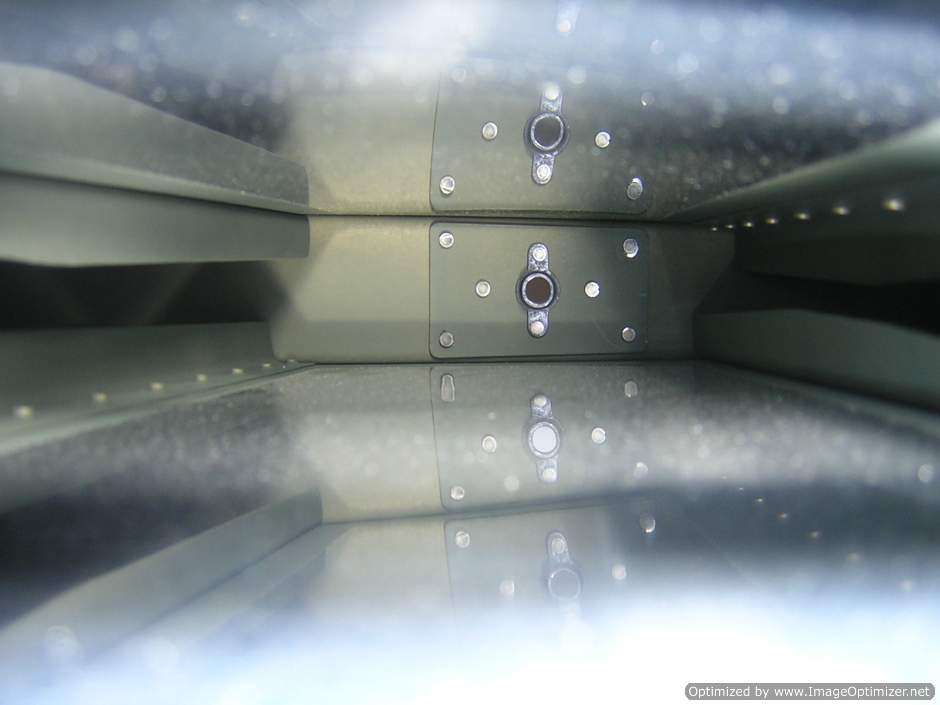
Final check of inside of rudder before closing the trailing edge, everything looks good
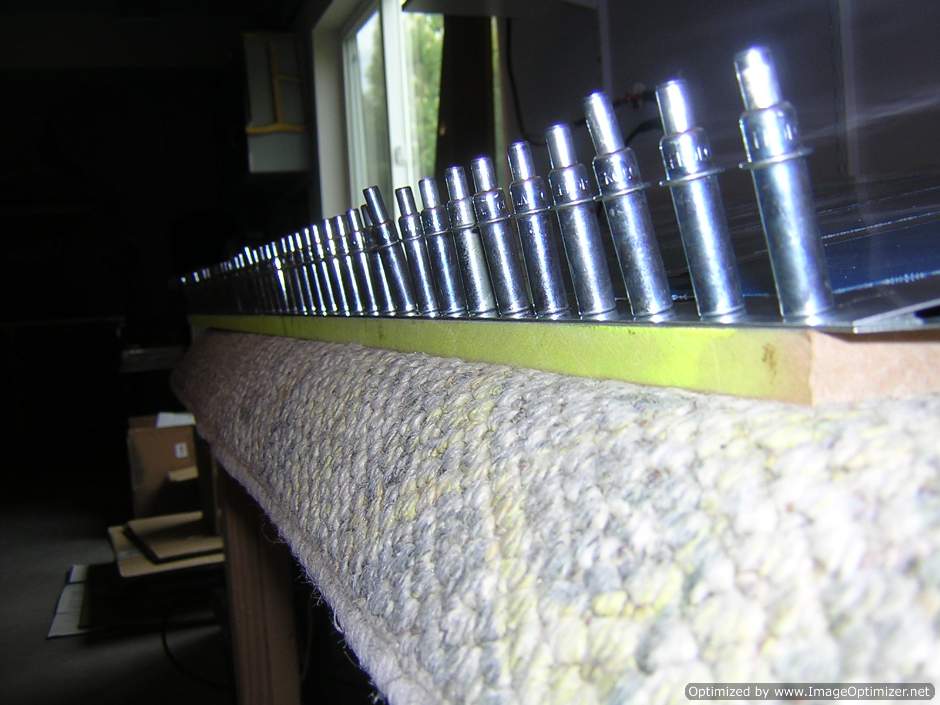
Trailing wedge is glued and clecoed to the skin. The whole thing is clecoed to a flat wooden piece to ensure a straight edge.
