02-26-2012: 6 hrs
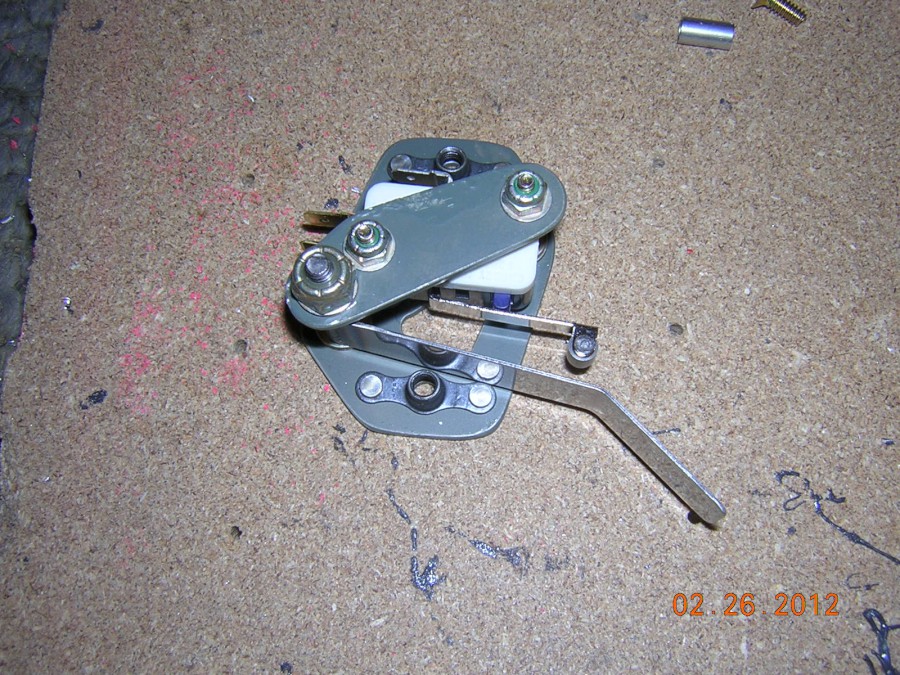
Stall warner sub-assembly is done
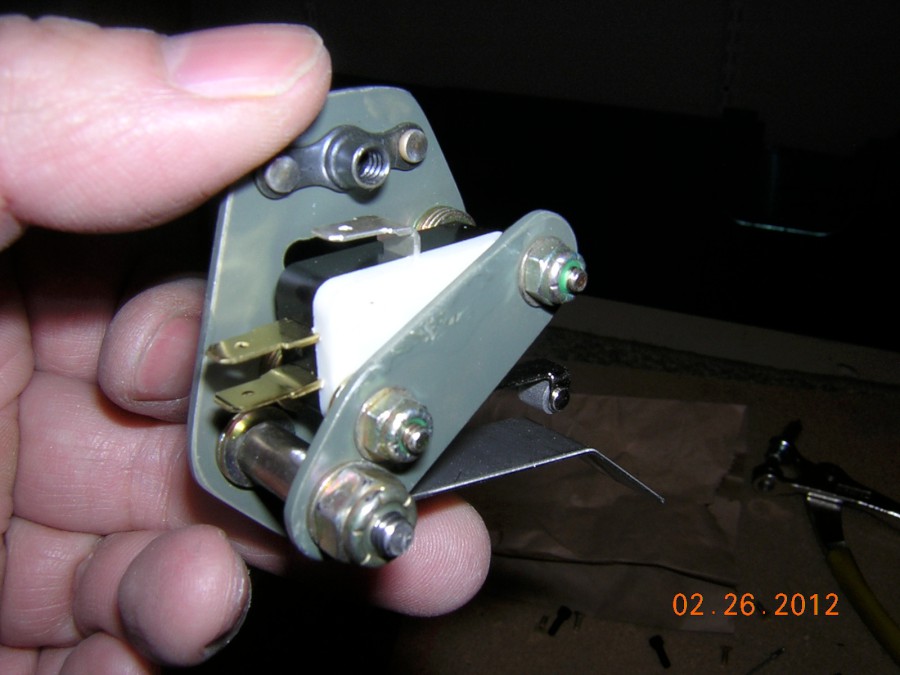
Stall warner sub-assembly
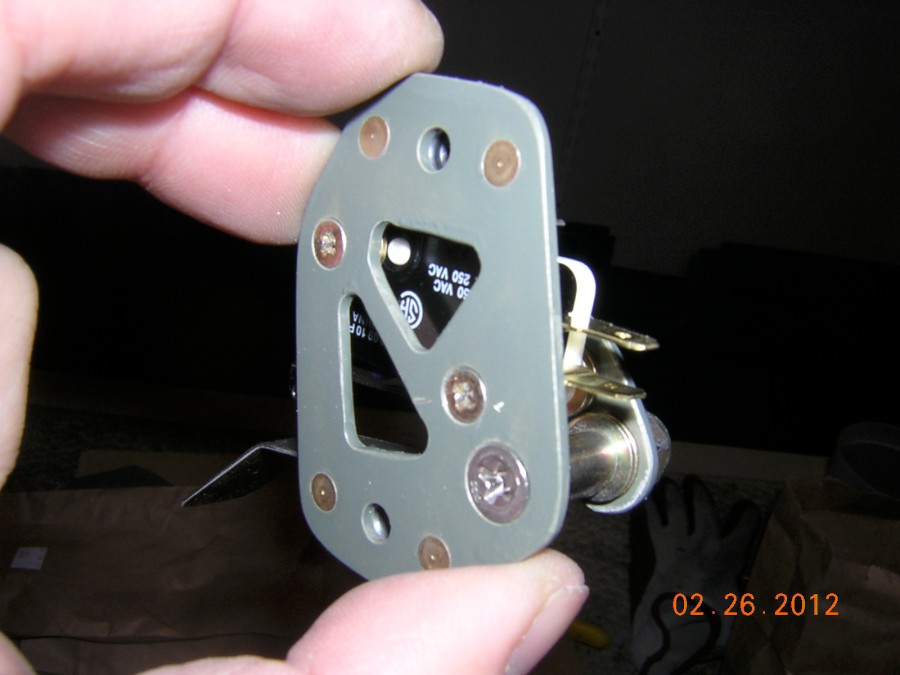
Stall warner sub-assembly
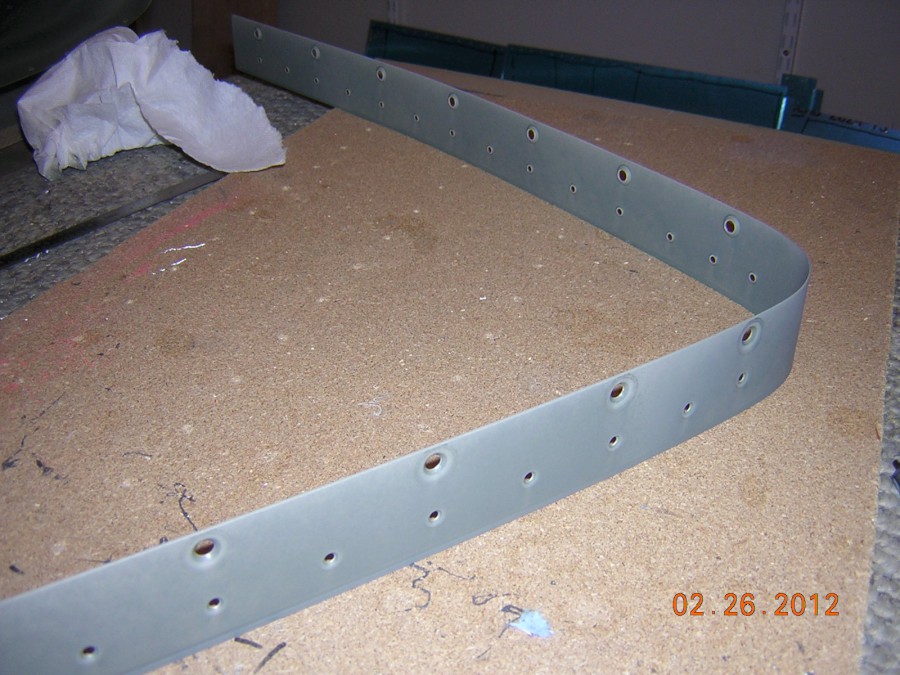
Joint splice is dimpled and primed
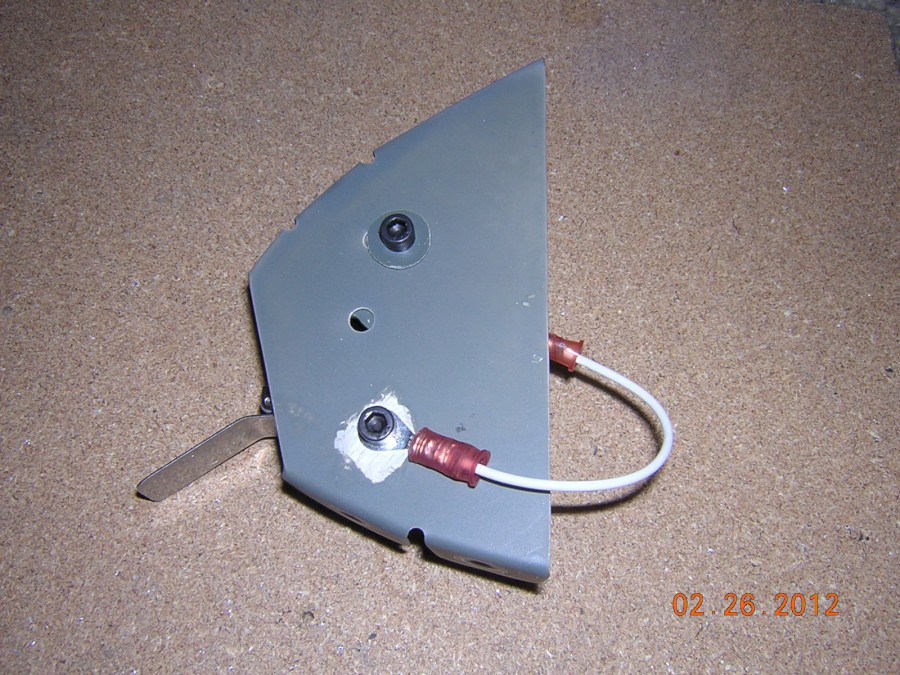
Ground wire is connected to the stall warner. The primer is removed for ensuring ground contact
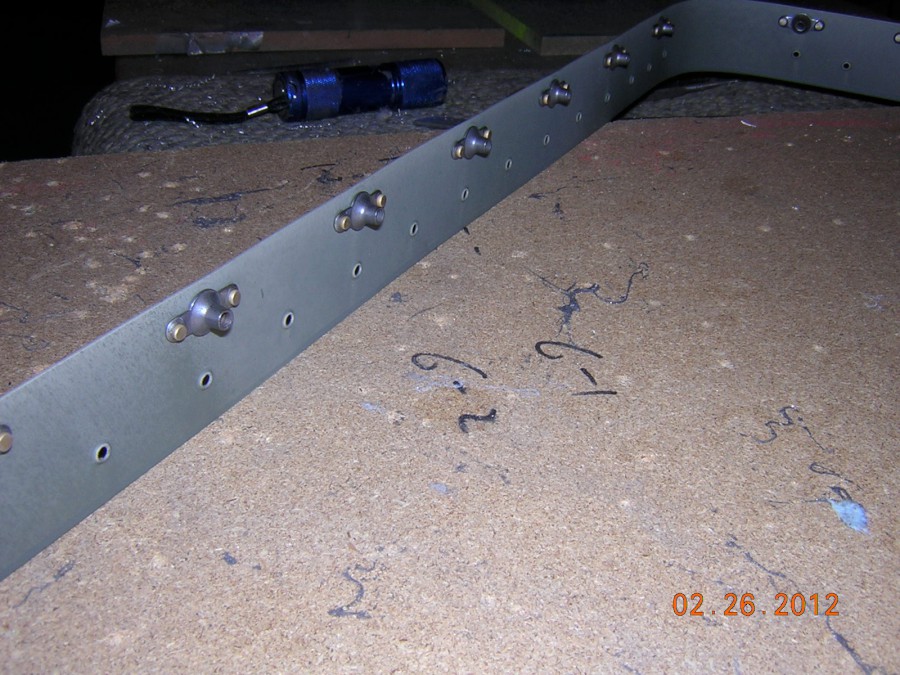
K1100-08 Nutplates are installed on the joint splice
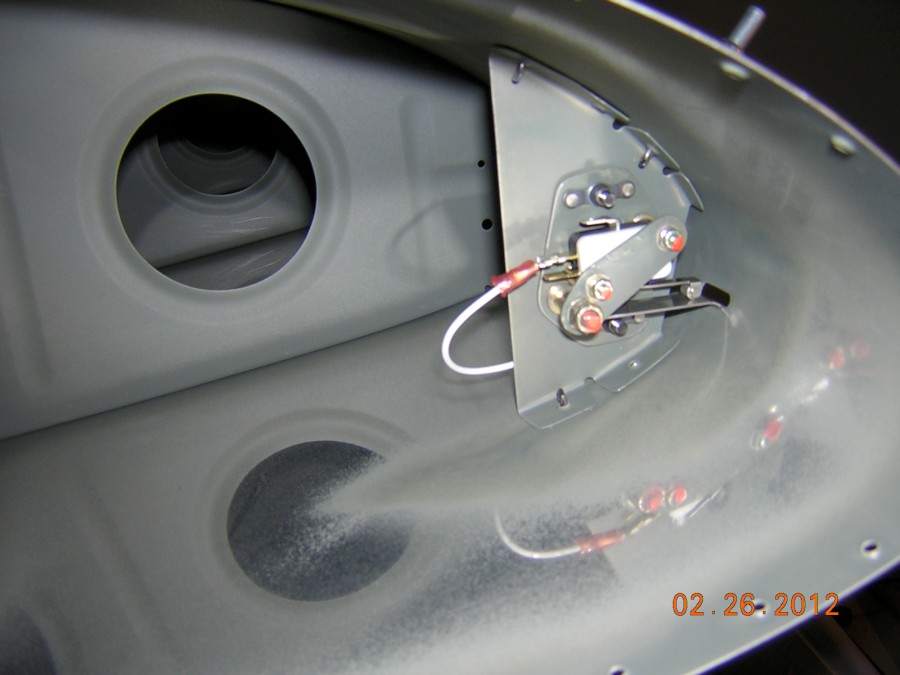
Stall warner assembly is clecoed to the leading edge
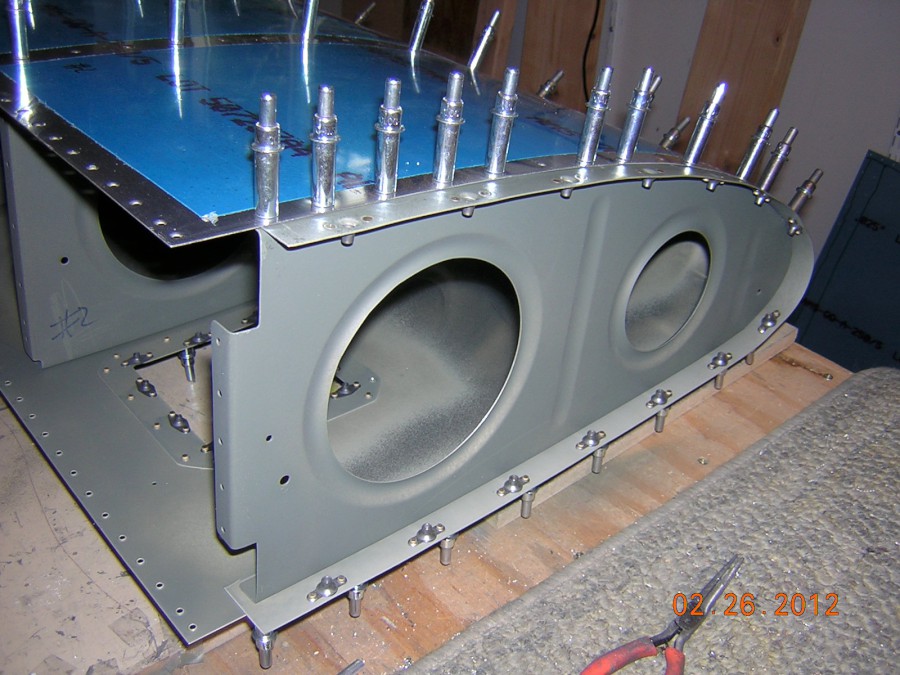
After clecoing the stall warner assembly, the inboard rib and joint splice are clecoed to the skin
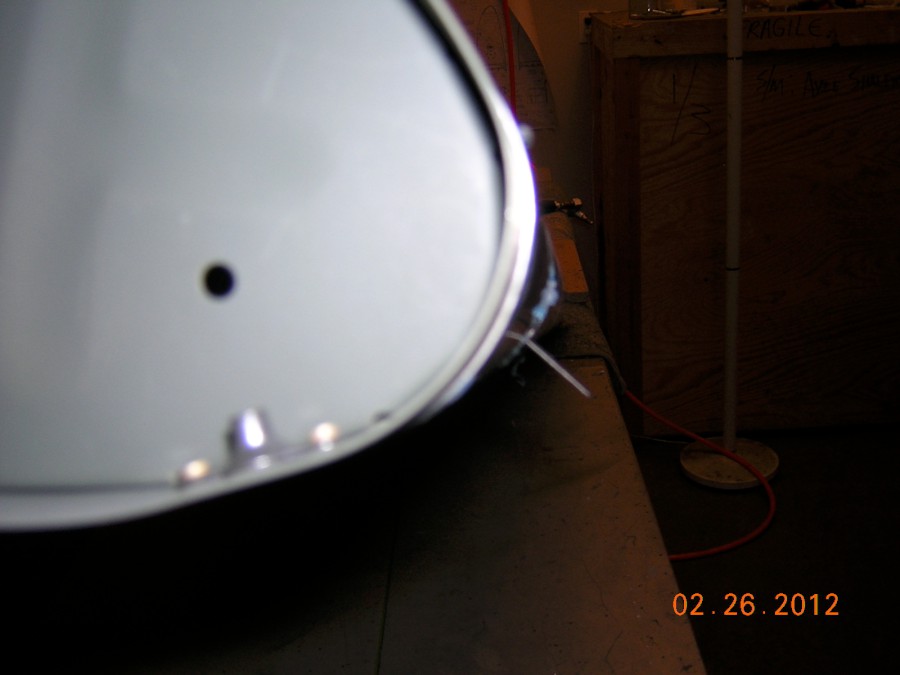
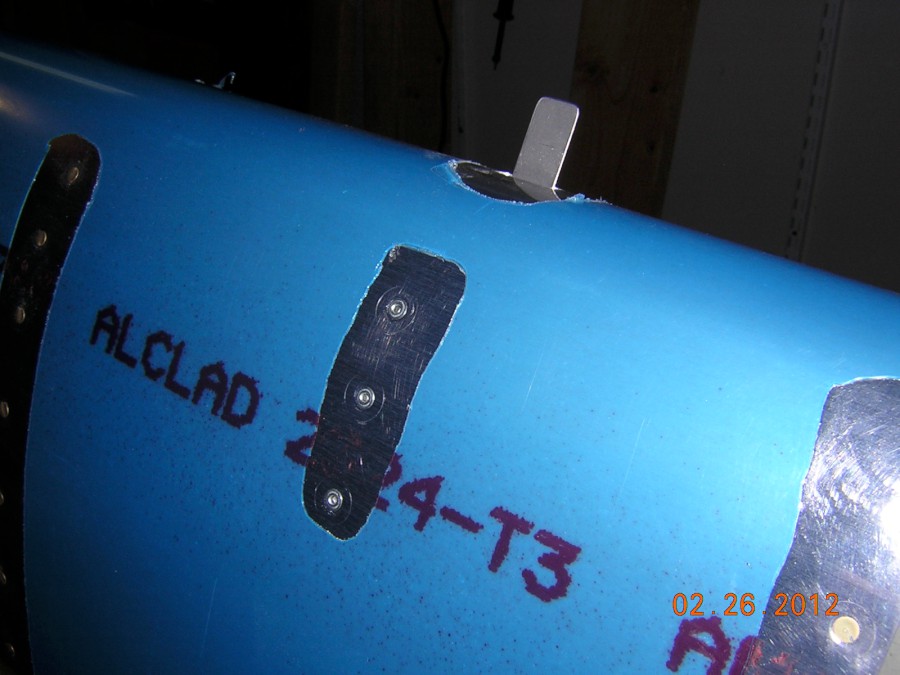
The stall warner vane is at right angle with respect to the skin at its rest position
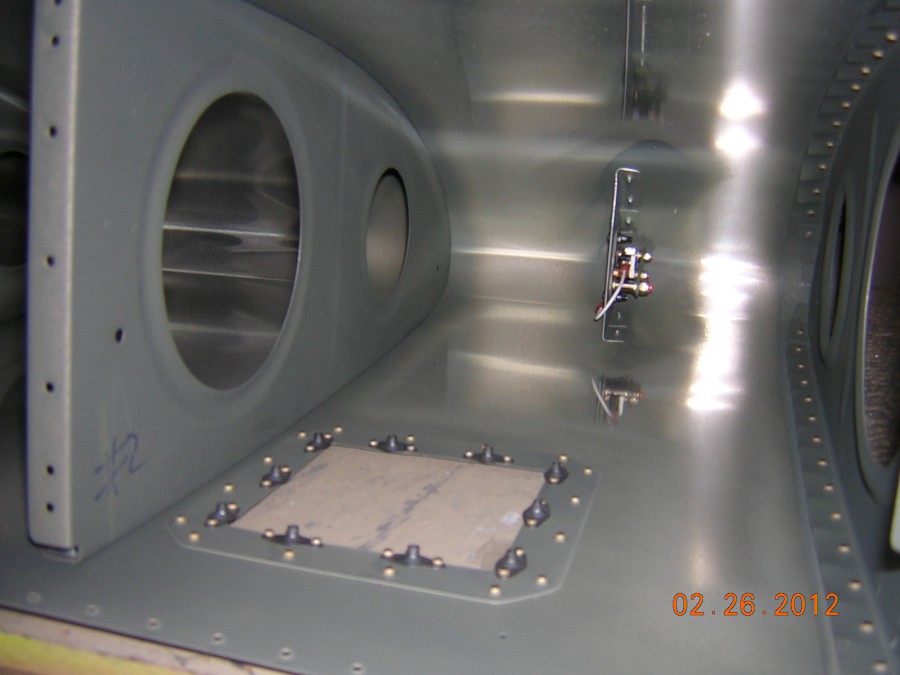
All clecoed, ready for riveting
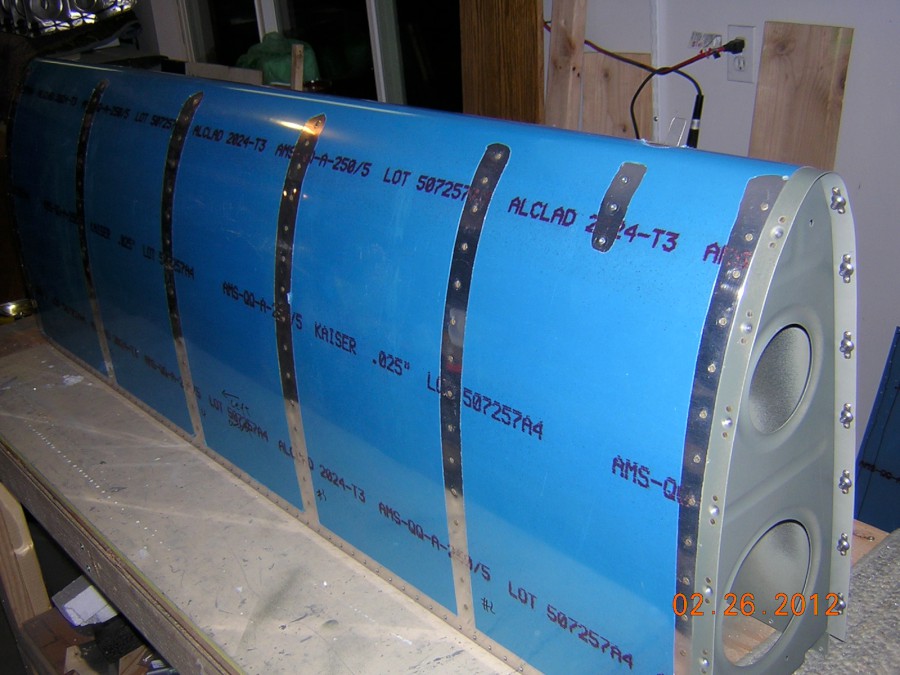
Leading edge is all riveted
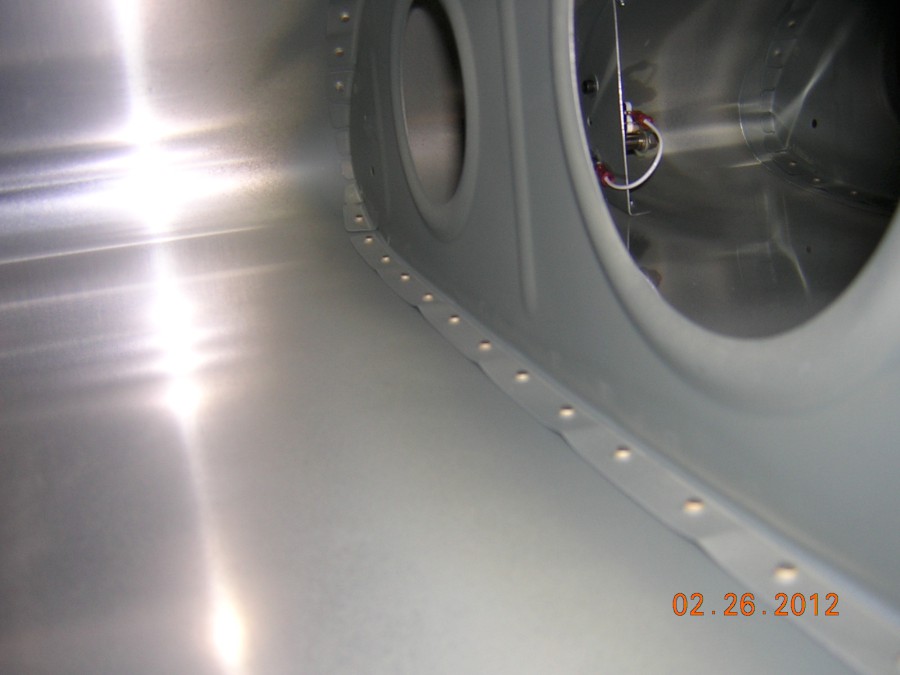
Typical shop heads
MSK-319 rivets are used for the stall warner
<<Previous | Home | Next>>
