10-02-2011:
I have to say, working with tank sealant is not fun at all.
I used the "fray sealing" for the stiffeners, cap flange and drain valve flange. After setting for a day, the sealant is still sticky, but won't stick to your hand permanently like a freshly mixed one. I decided to rivet these parts. Back riveting the stiffeners is straight forward, no problem. It is just hard to see how much the rivets were set due to the sealant, there are a couple of rivets being set too much. But the rivets only take the shear load, I am ok with some over-set rivets here. The drain flange was riveted using hand squeezer. I used the hand squeezer for some rivets on the cap flange, but have to use rivet gun for most of them because they were out of squeezer's reach. I think the 426AD3-4 rivet is slightly short to be used here, but it's been called out in drawing, I just went ahead and used -4 rivets, except the one to rivet the vent line support which I used -4.5 rivet for.
After riveting, I sealed the shop head of every rivet.
Time for the ribs. After roughening and cleaning tank ribs, I mixed 110gram sealant. After applying sealant on the rib, putting the rib in to the skin was frustrating, I got sealant everywhere, especially for the first rib. Was hard enough to cleco them to skin, it was just worse with sealant. After sacrificing a T Shirt, I got the 3 ribs clecoed to the skin. I planed to use the "fray sealing" method for the rib as well, but realizing that I don't have enough clecoes for all the ribs. So, I riveted the second rib from the outboard end. Man, riveting with sealant still wet is really a dirty job. I changed my gloves quite frequently, but still got black hands. Also the sealant on the bucking bar and rivet gun just made things more difficult. After riveting the rib, I sealed the shop heads as instructed. Now I got enough clecoes for other rib. I went ahead applying sealant on all interior ribs and clecoed them to skin. I found using a plastic knife is a good idea to make the sealant fillet around the rib flange. I will the sealant set for a day before riveting the ribs.
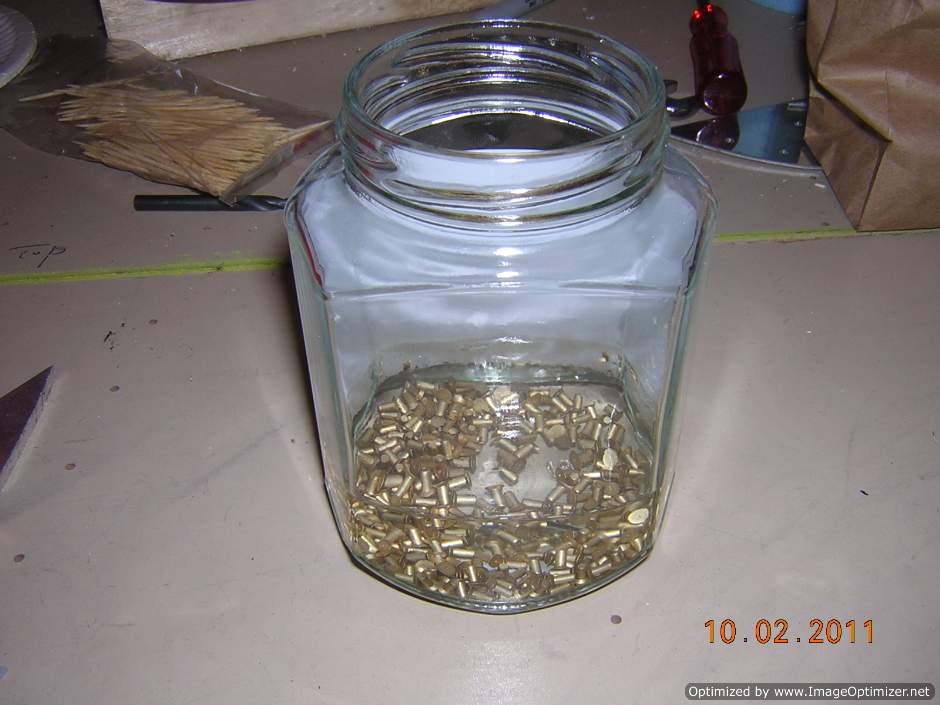
Rivets submerged and sloshed in acetone
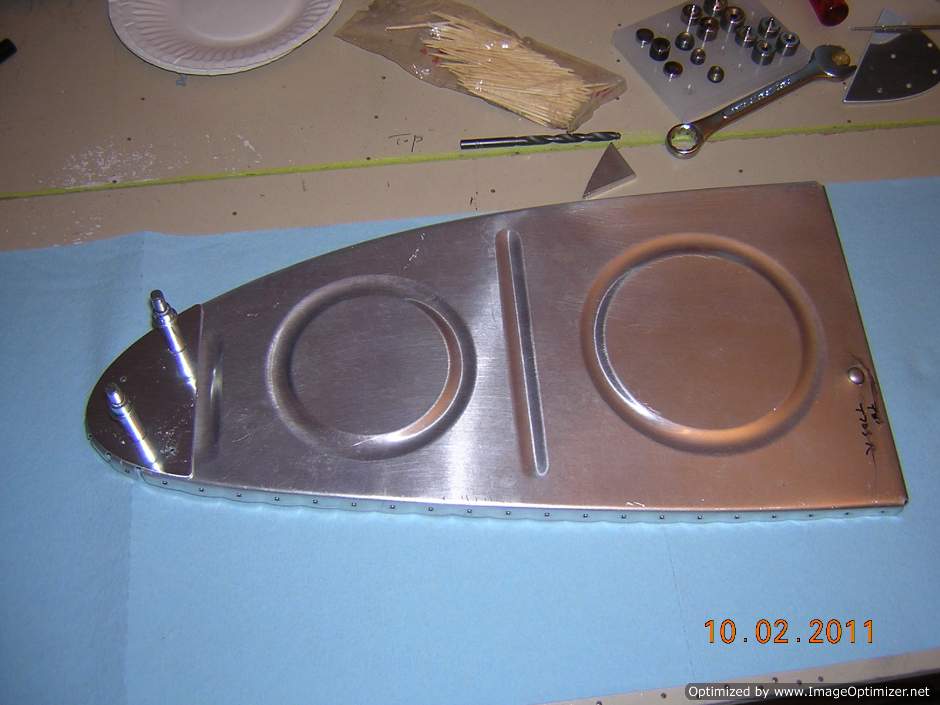
Outboard rib is drilled with reinforcement plate
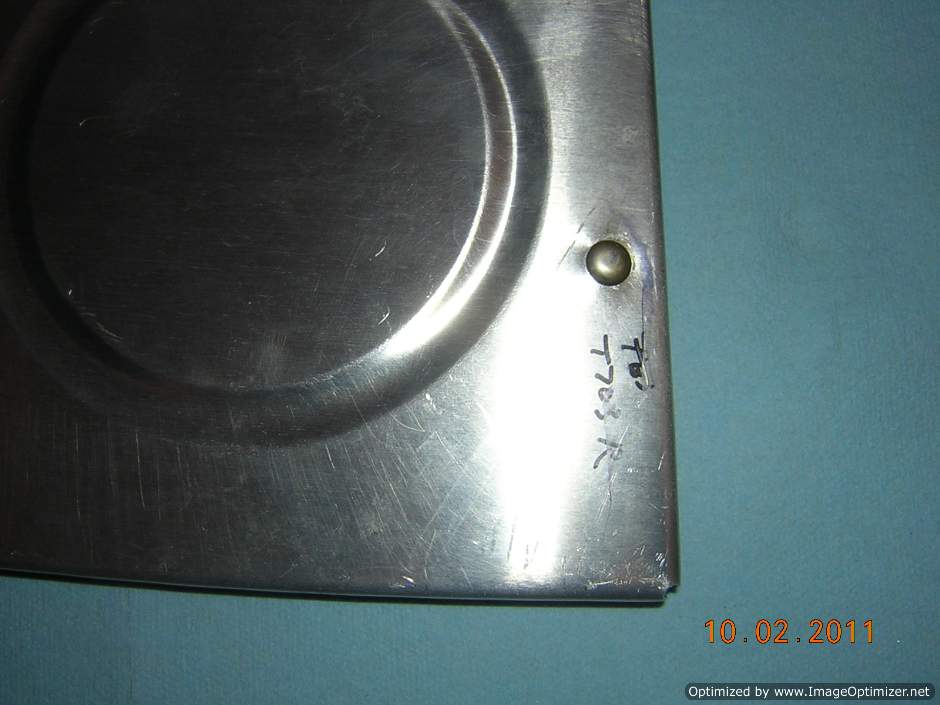
The tooling hole is plugged using a AN470AD6 rivet, I hand squeezed it a little and sealed it with sealant.
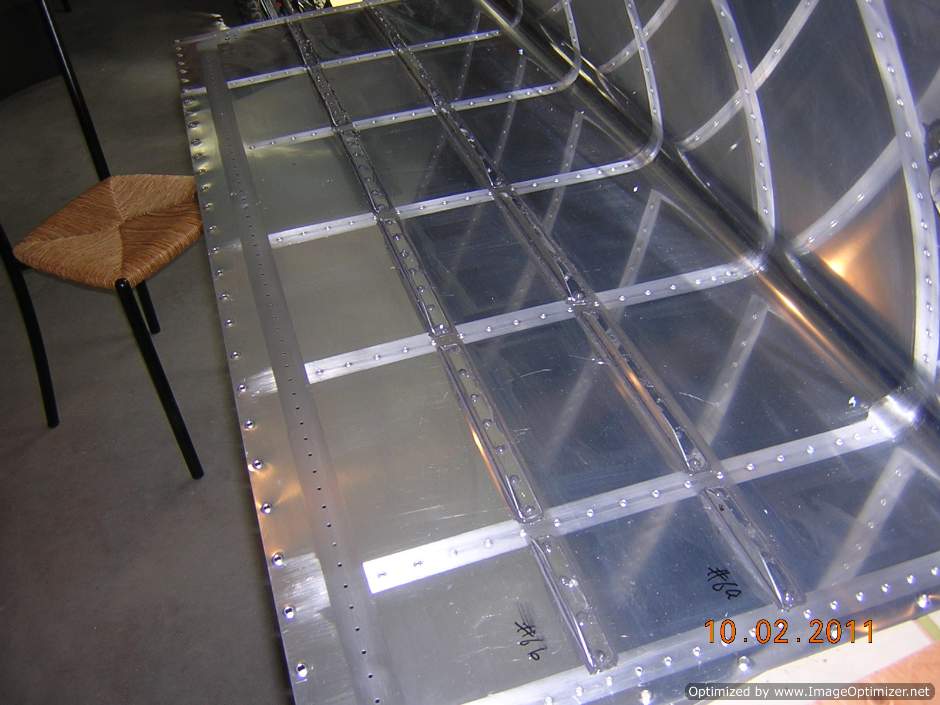
Skin interior is scuffed using Scothbrite pad, I used the gray color one to make more scraches for the sealant to bite to
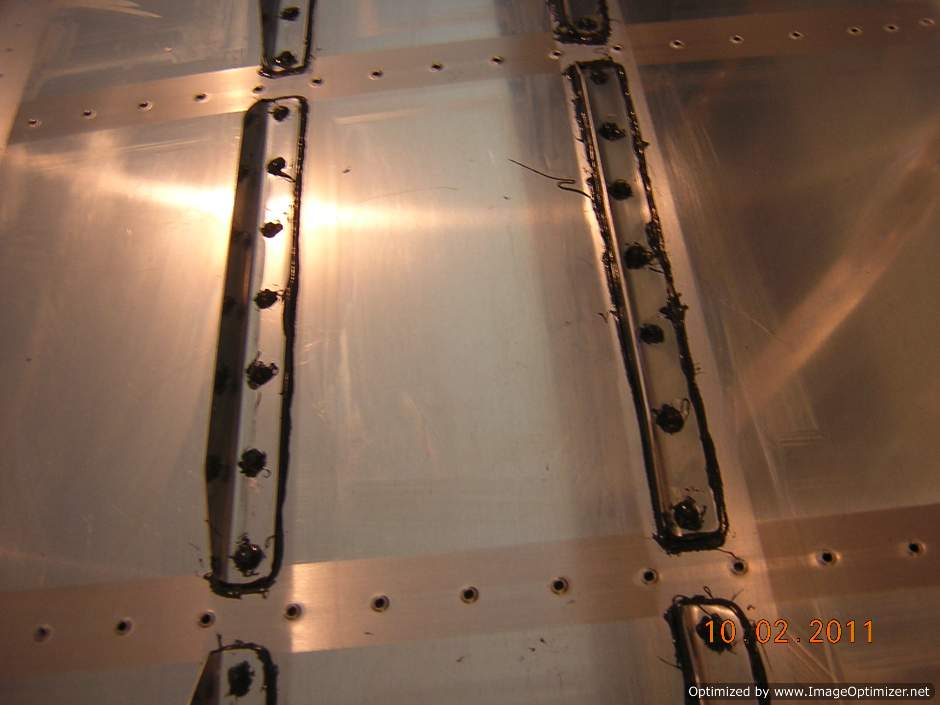
Stiffeners are riveted on and rivet shop heads are sealed
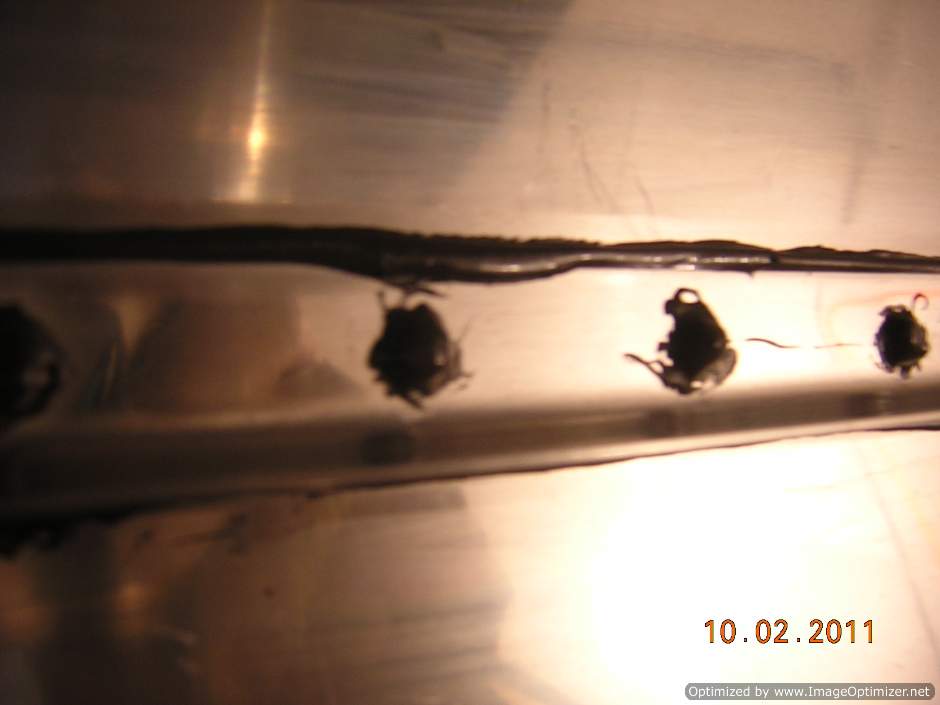
Close-up view of stiffeners
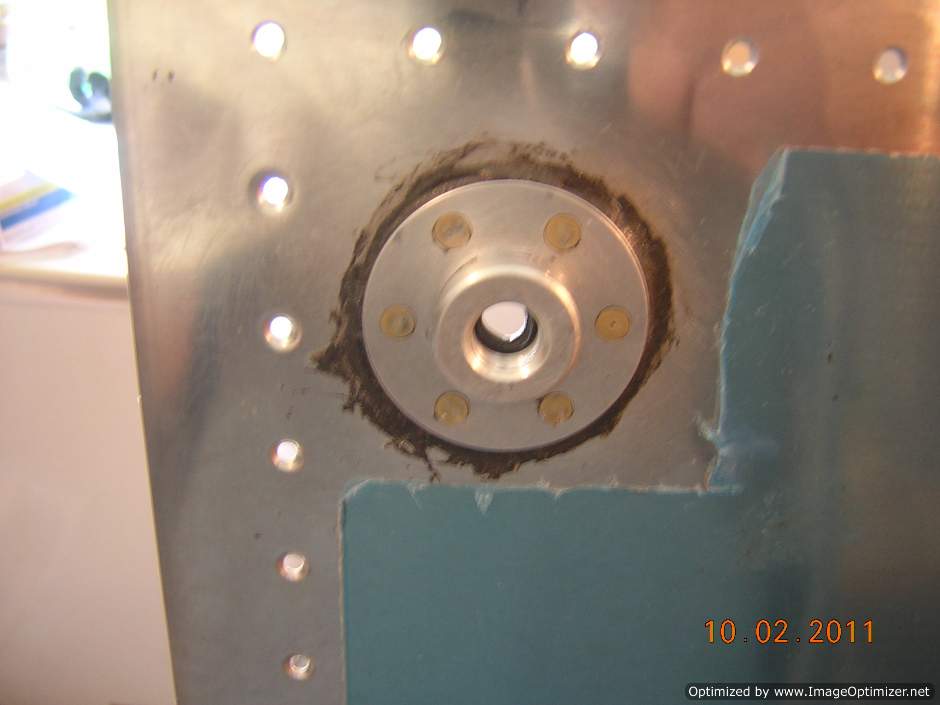
Drain flange is riveted and sealed
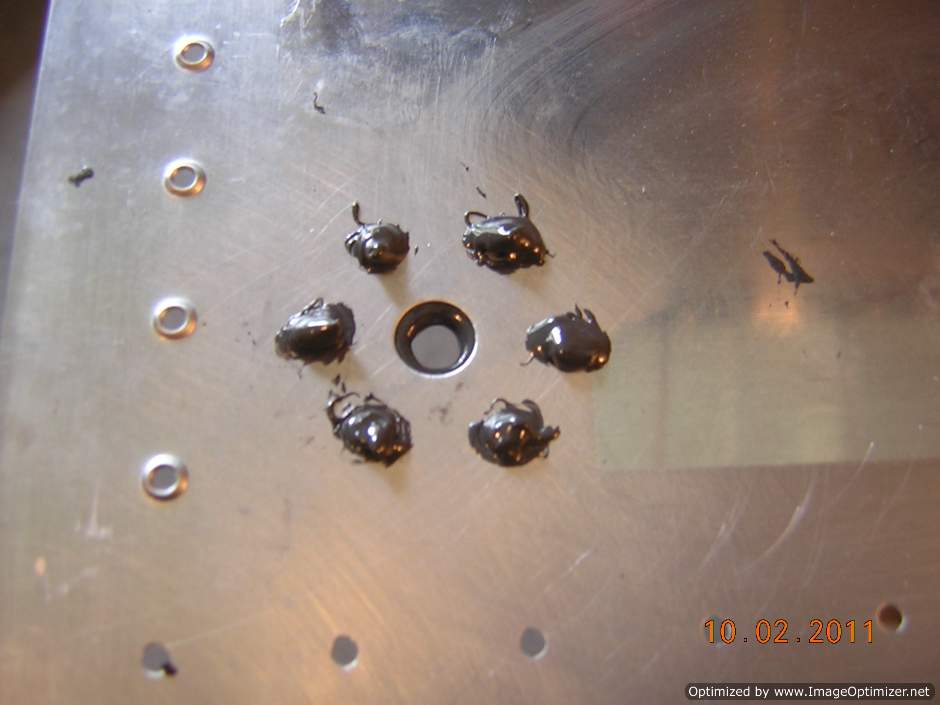
Drain flange rivets shop heads are sealed
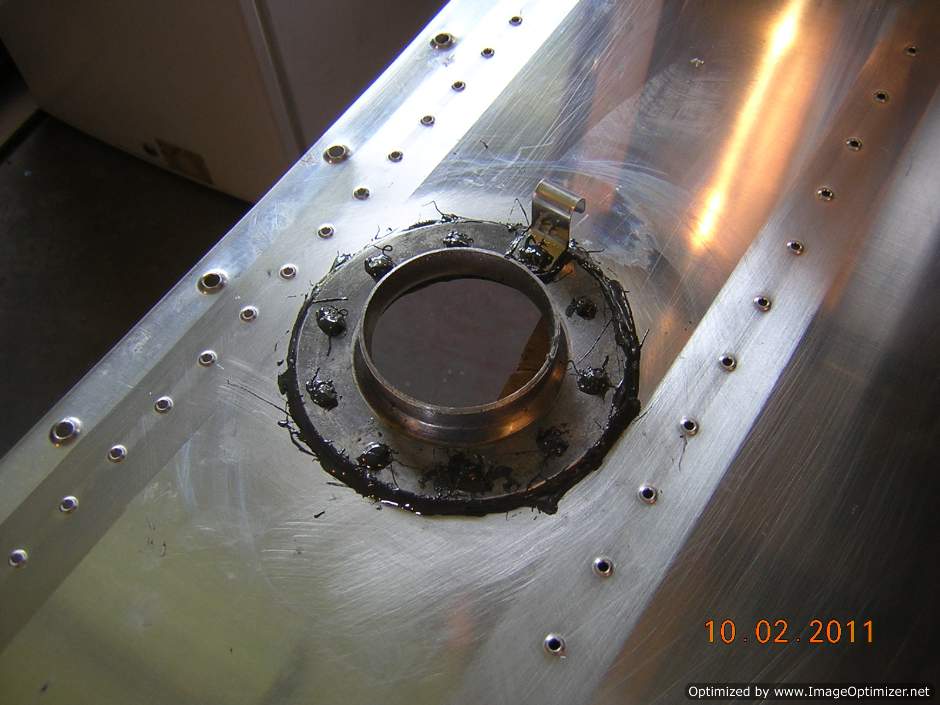
Fuel cap flange is riveted and sealed
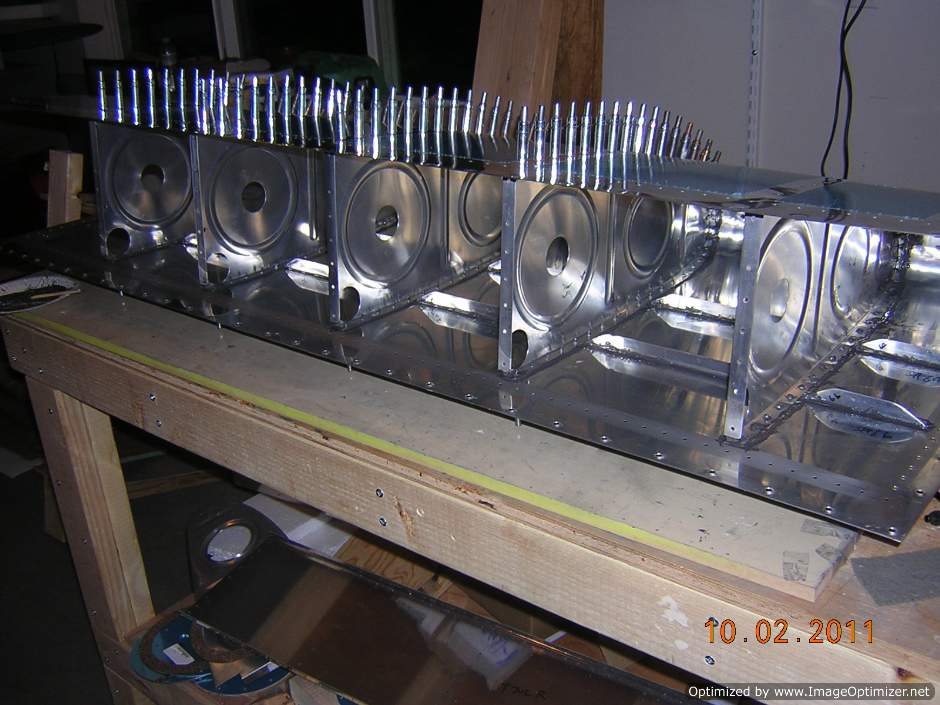
Working on tank ribs
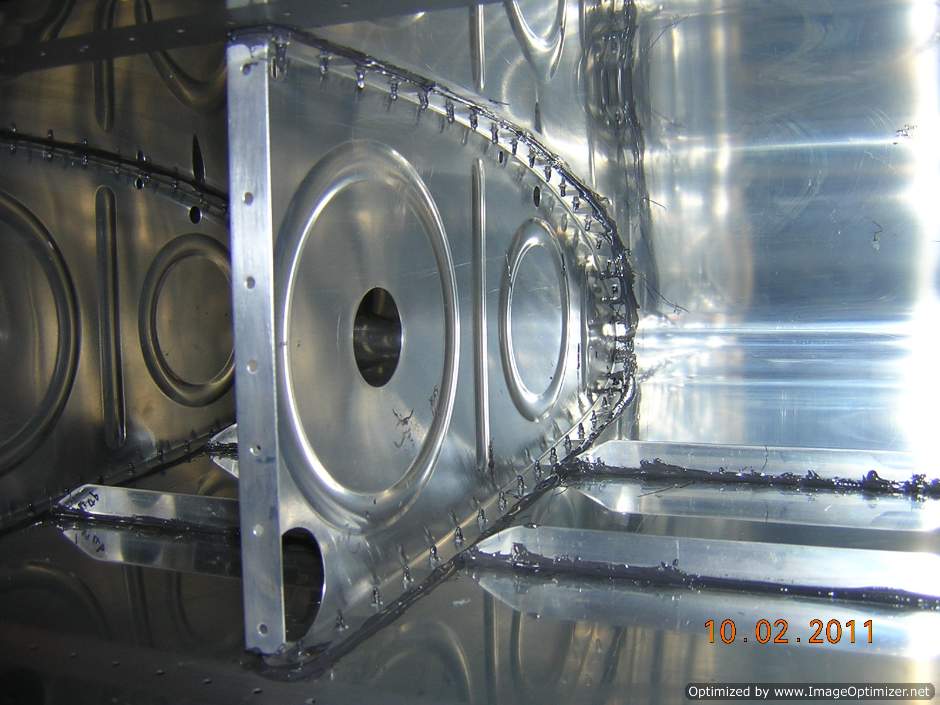
Tank ribs with sealant applied and clecoed to skin
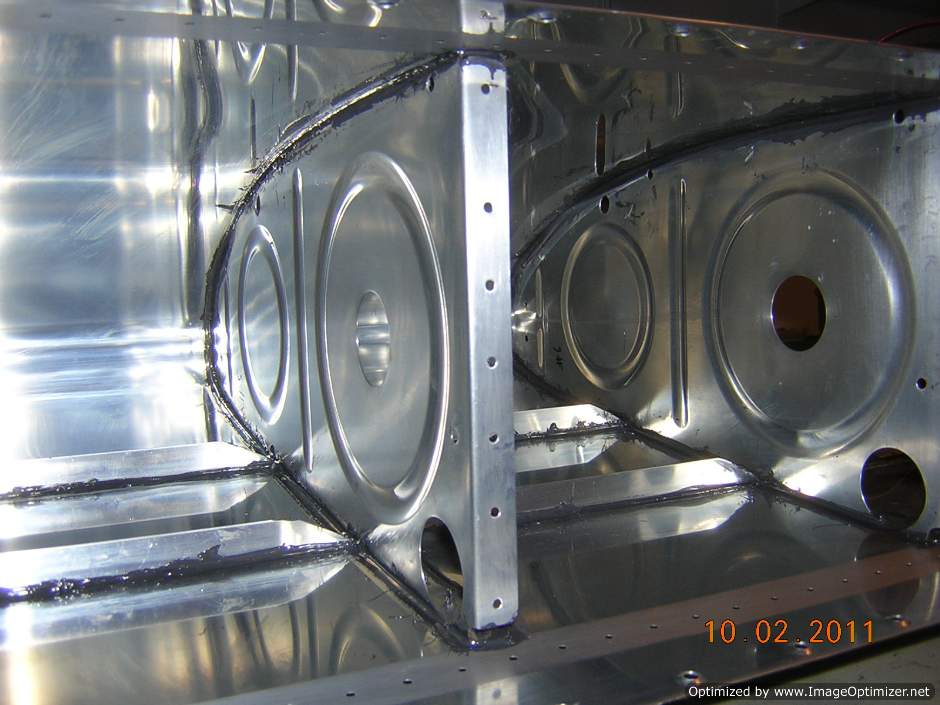
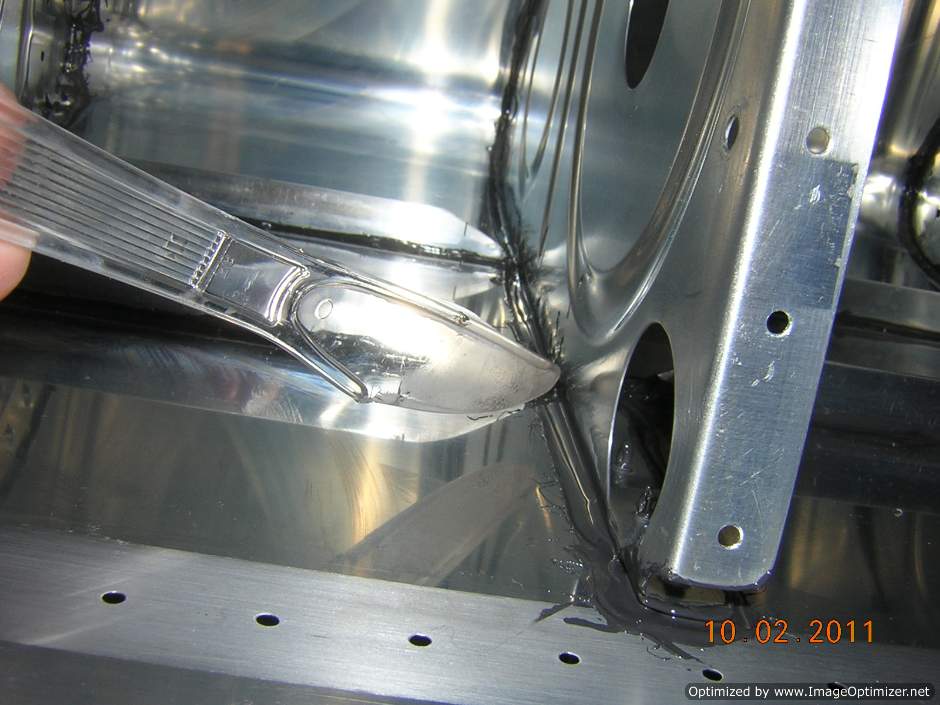
I used a plastic party knife to form the fillet, it works well. Just wish I found this idea earlier so the fillets on the stiffener and cap flange could look better
