10-01-2011:
First time working with tank sealant. After reading the instruction, I mixed 50gram of sealant, started applying them to tank stiffeners. I will use the "fay sealing" method, it is supposed to be less messier than the standard method as instructed by Van's. Basically, the "fray sealing" method is to apply the sealant, clecoe the part 100%, then let it set for sometime (at least overnight), then rivet when the sealant is less stickier. Hope I can get a clean tank, we will see.
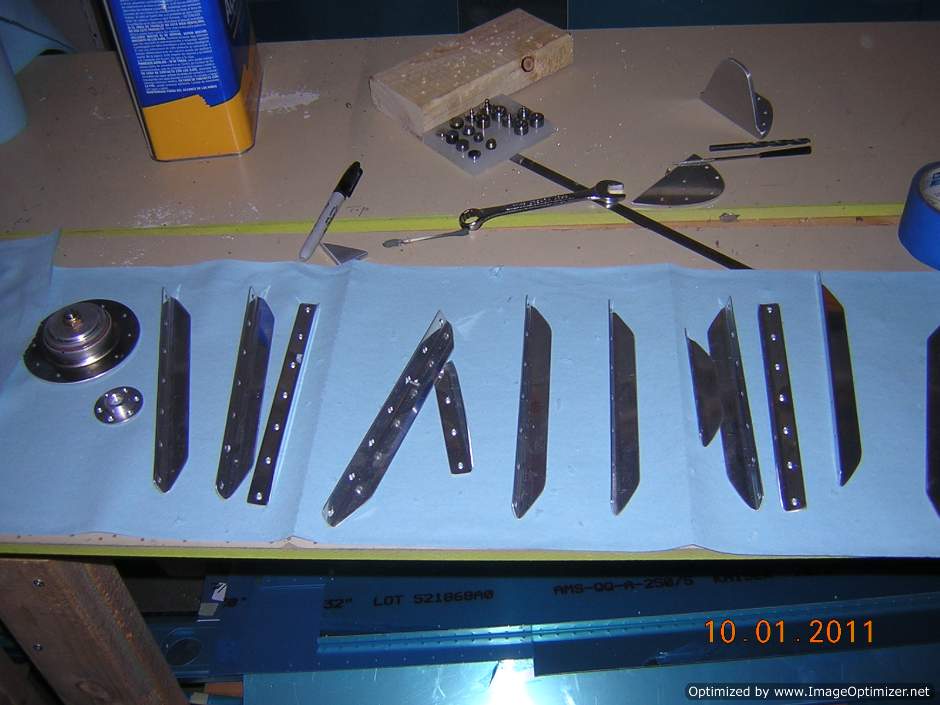
I have the stiffeners, cap flange and drain flange cleaned with acetone
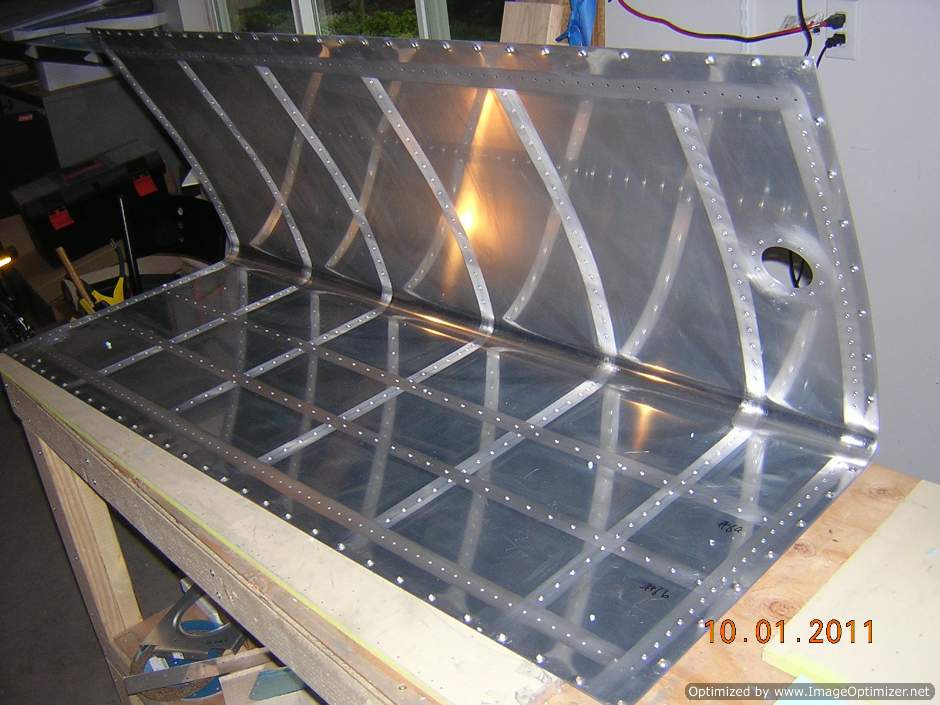
Inside of the skin where sealant will be applied is scuffed using scotchbrite pad. I used tape to cover the area where I don't want to be scuffed
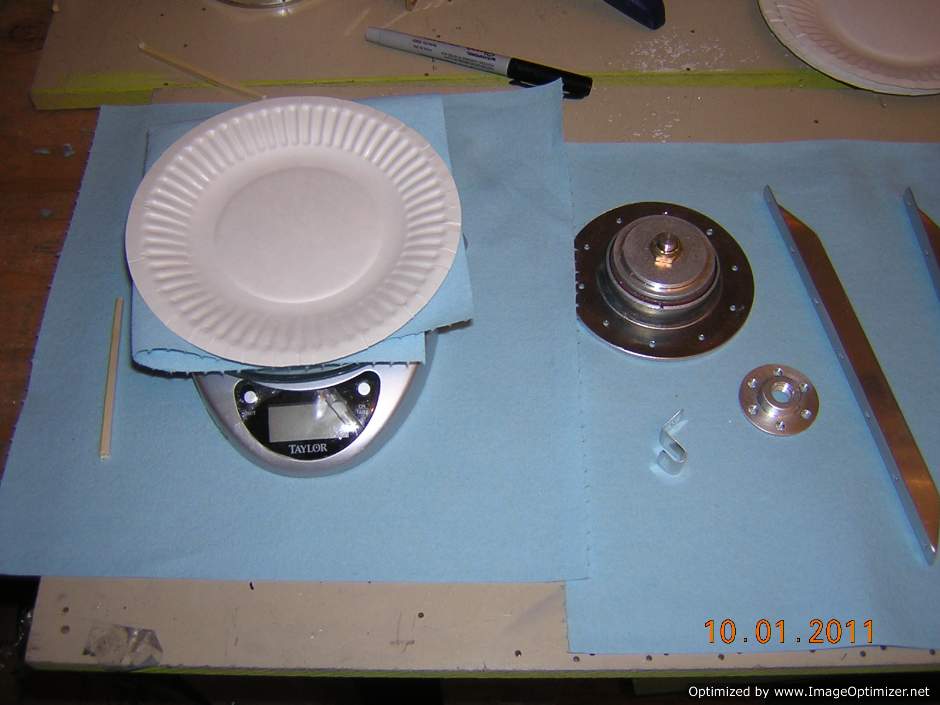
The digital scale for mixing sealant
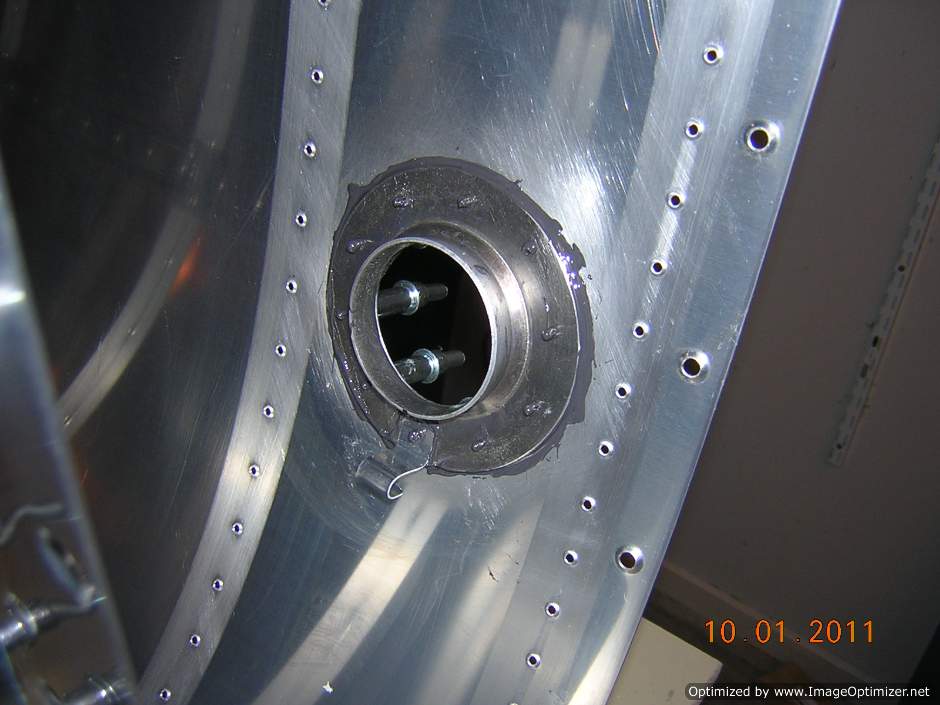
Cap flange is clecoed with sealant applied. I also fabricated the vent line support
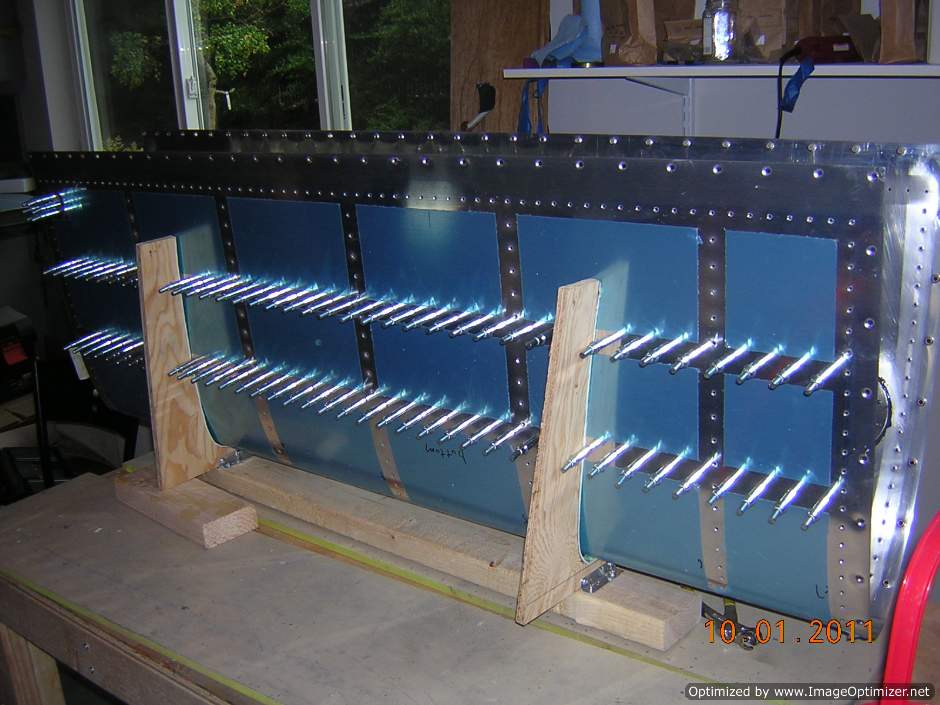
Tank stiffeners are clecoed with sealant applied
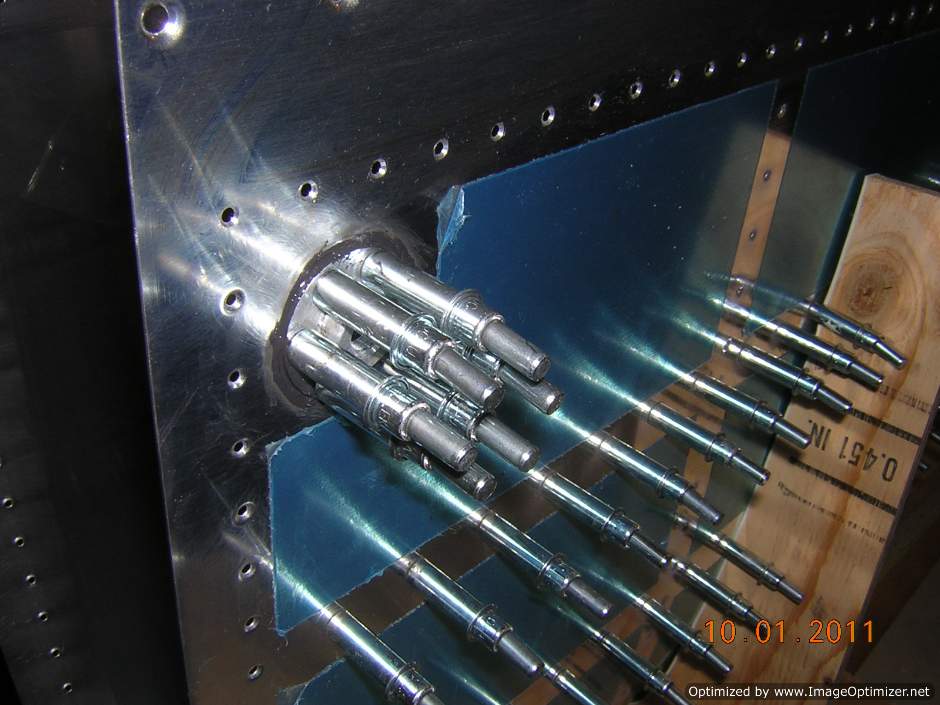
Drain flange is clecoed with sealant applied
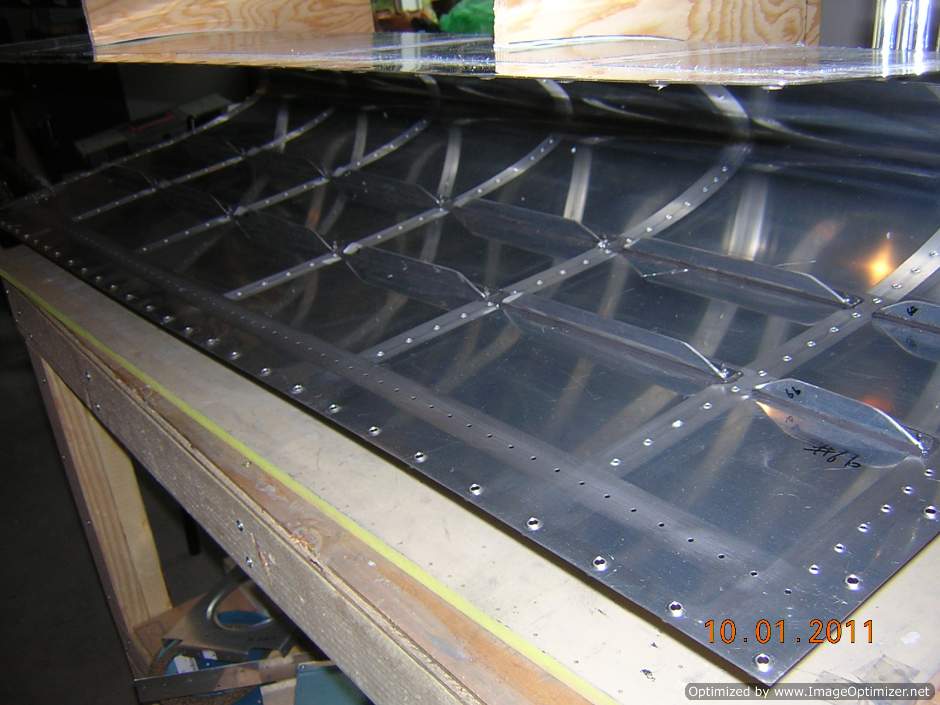
Tank stiffeners
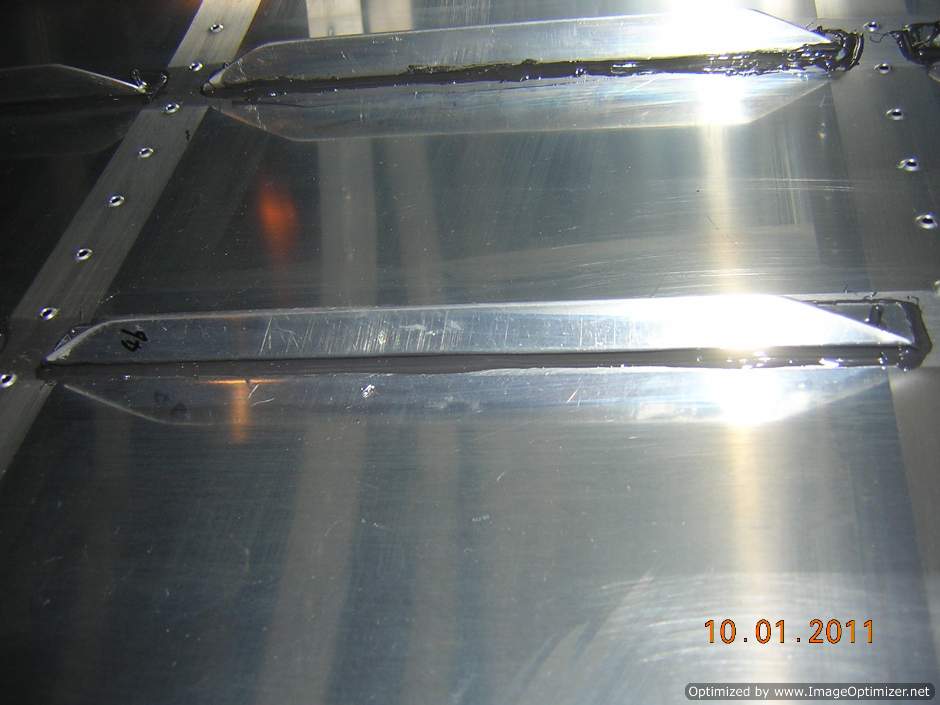
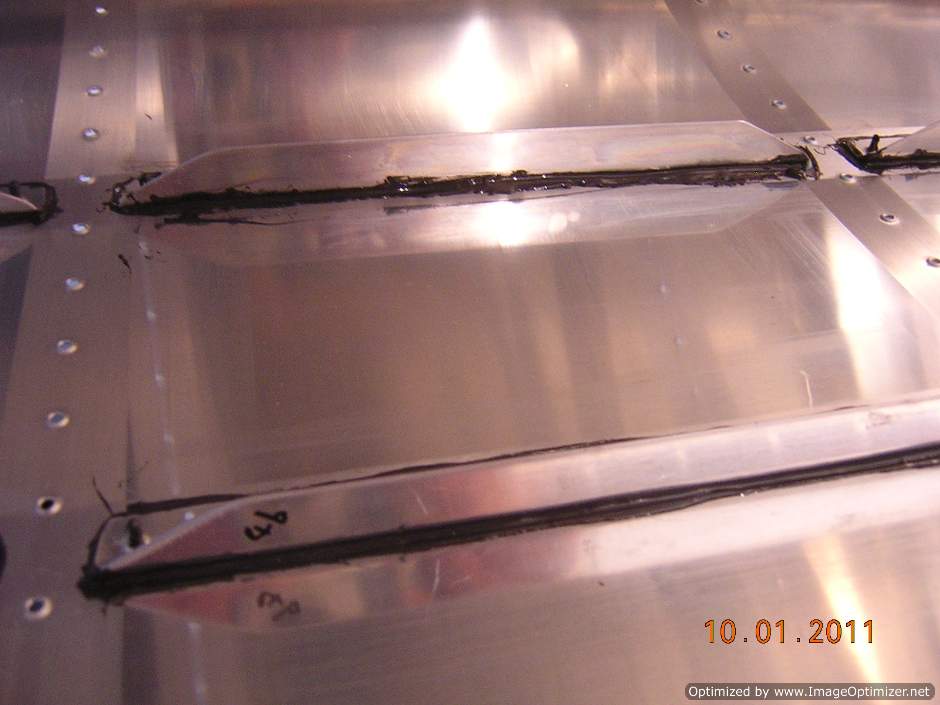
Sealant bead around tank stiffeners. The bead doesn't look great, but it will do the work. I made sure the sealant bead covers all open gaps. I don't want to spend a lot of time to get it perfect, as long as it will serve its purpose.I want a reliable and fun airplane, not a show airplane. Plus, no one will see the mess in the tank.
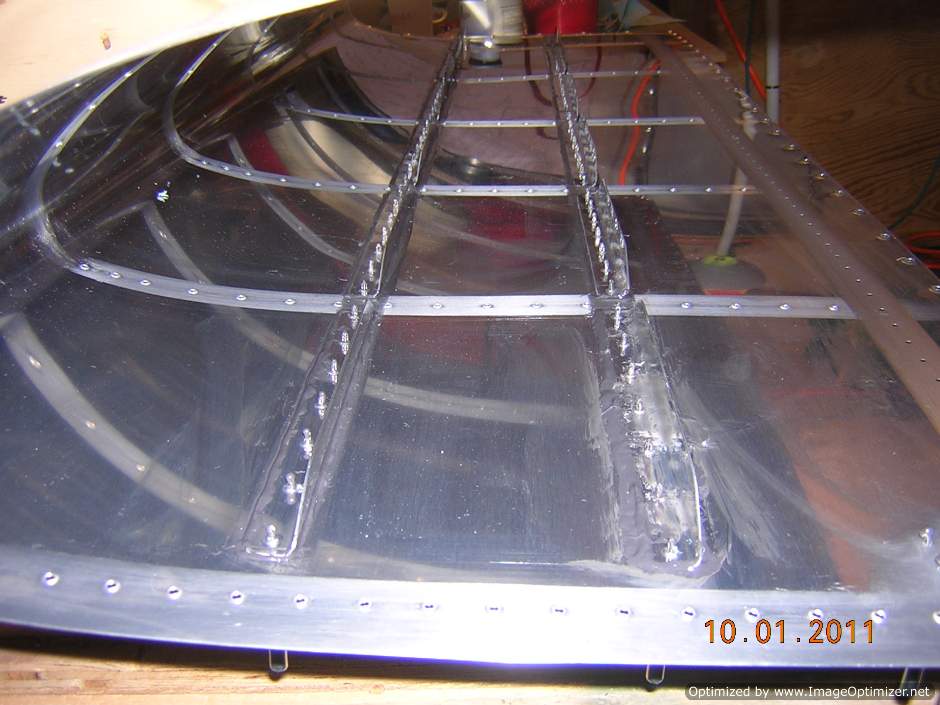
Another view of the stiffeners with sealant
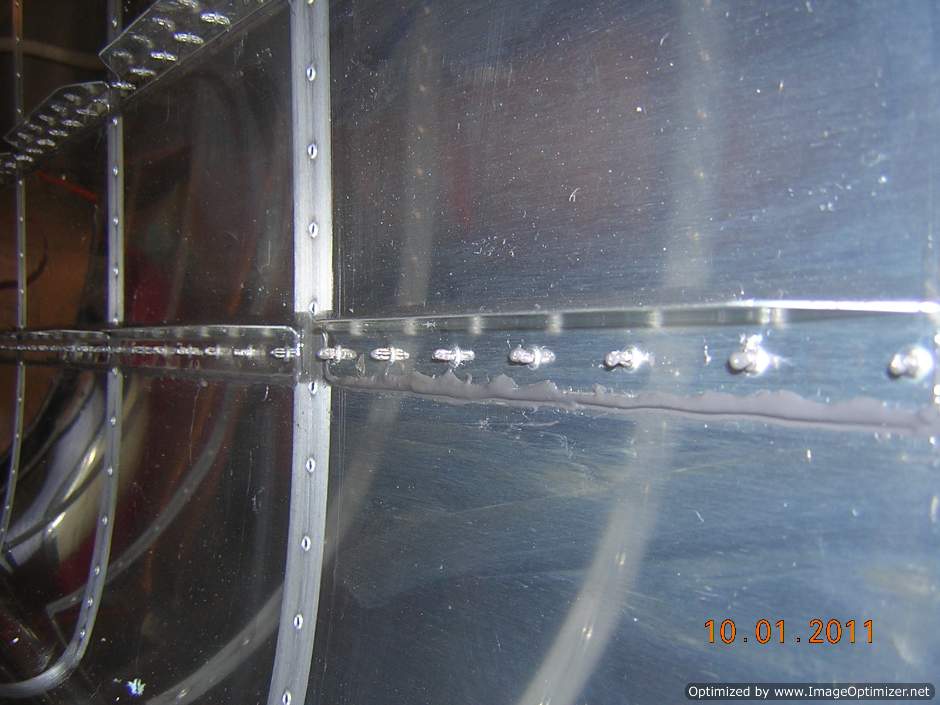
More sealant around stiffeners
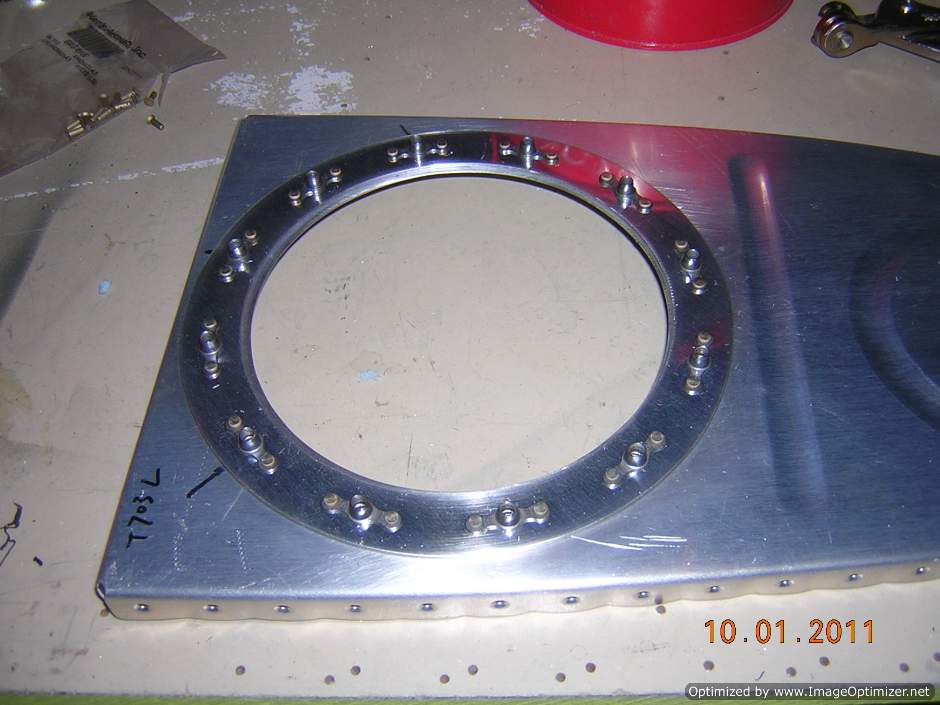
Access plate ring is riveted to inboard rib with nutplates
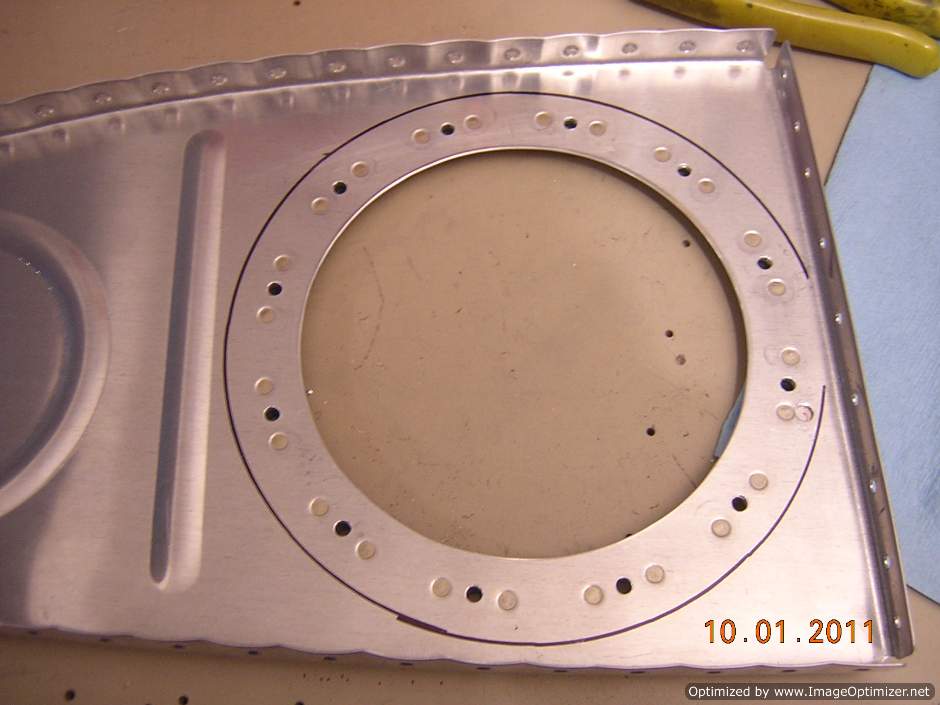
The flush rivets for the nutplates look good
