09-24-2011:

The tank skin and join plate are drilled and clecoed together after making sure there is no gap between tank and leading edge skins
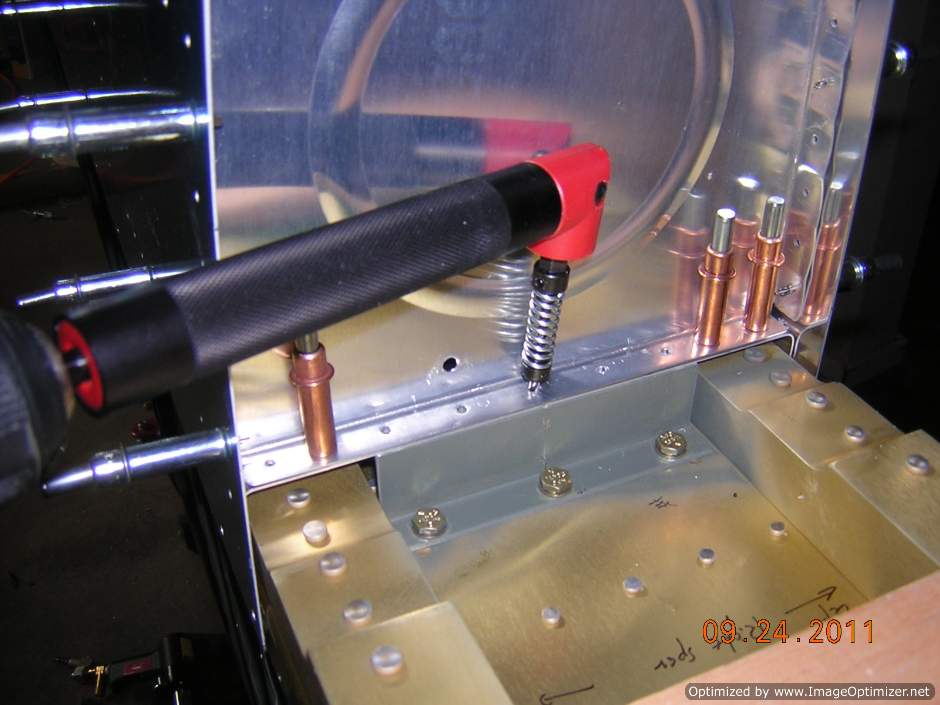
Then the most inboard Z bracket is drilled using the inboard end rib as a guide.
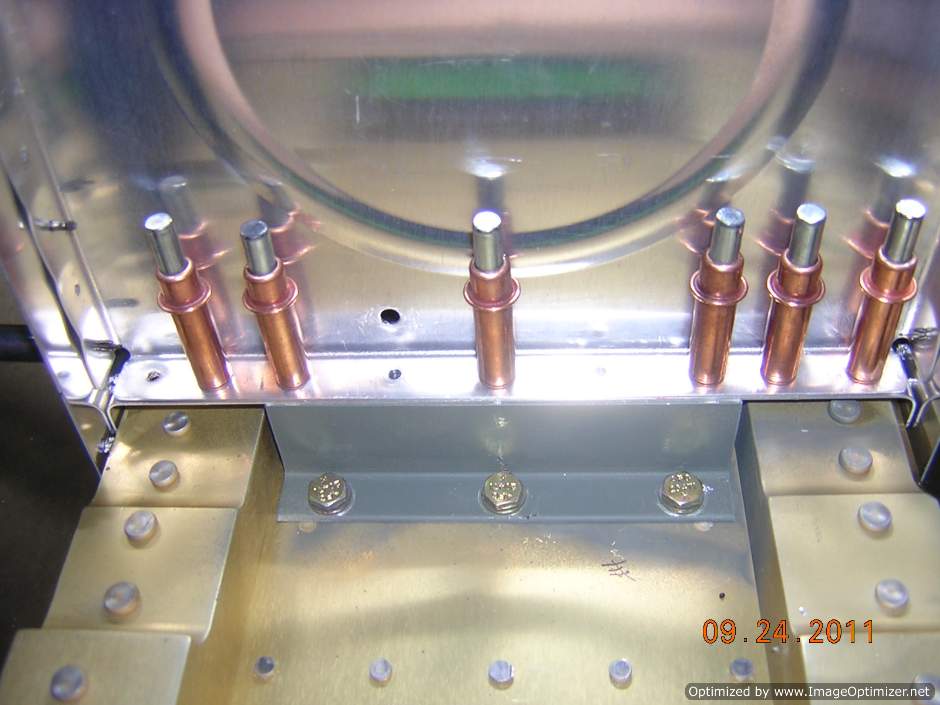
So far, the position of the fuel tank looks perfect to me
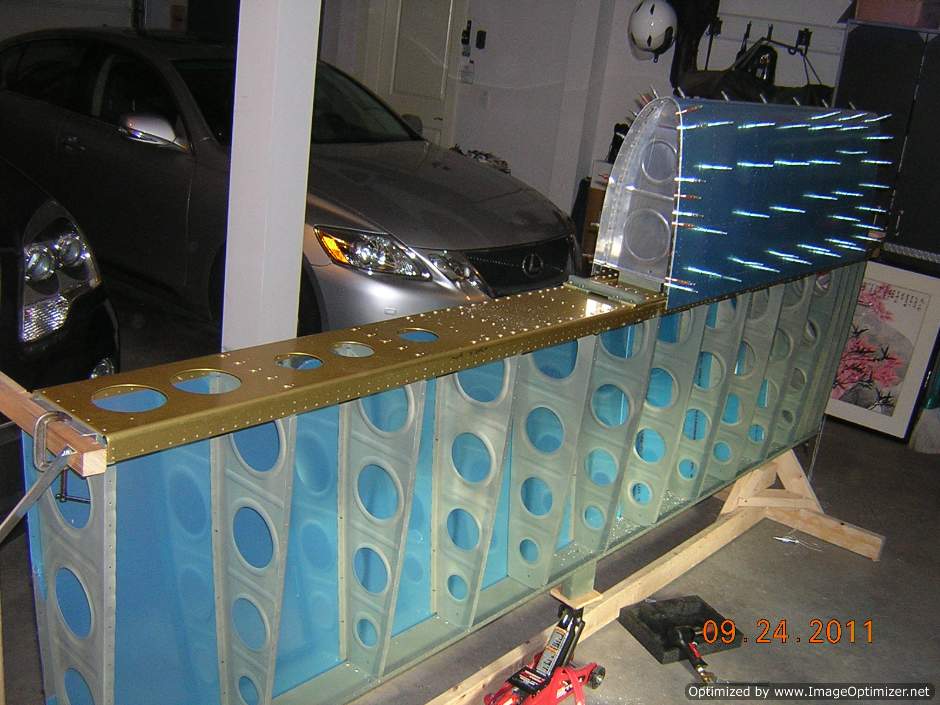
Leading edge is removed in order to drill the rest of Z brackets
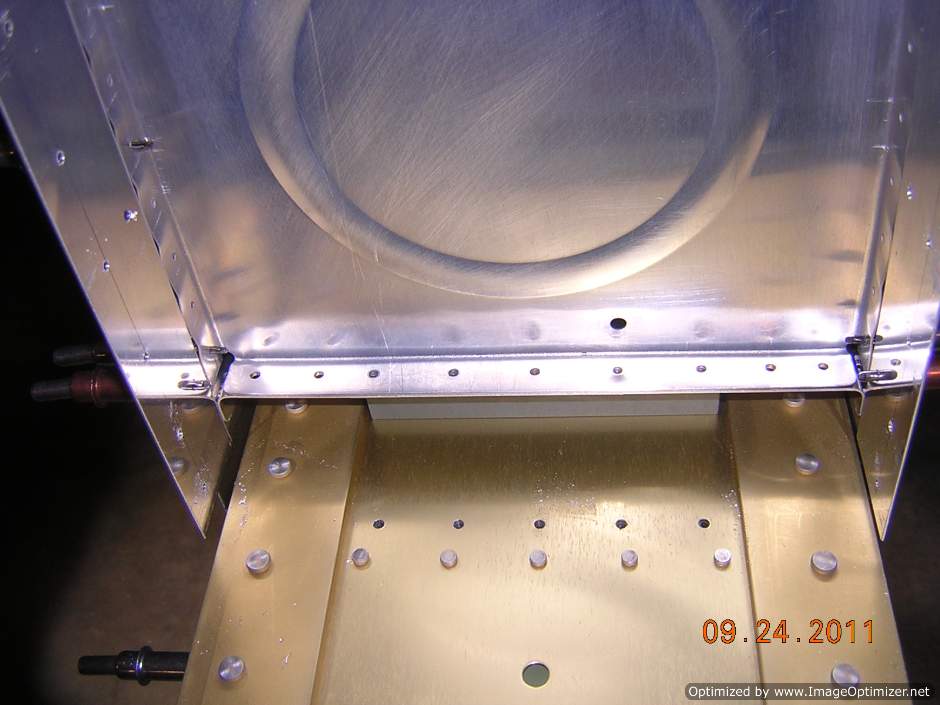
After removing leading edge, the outboard end rib of the fuel tank is used as a guide to drill the outboard Z bracket
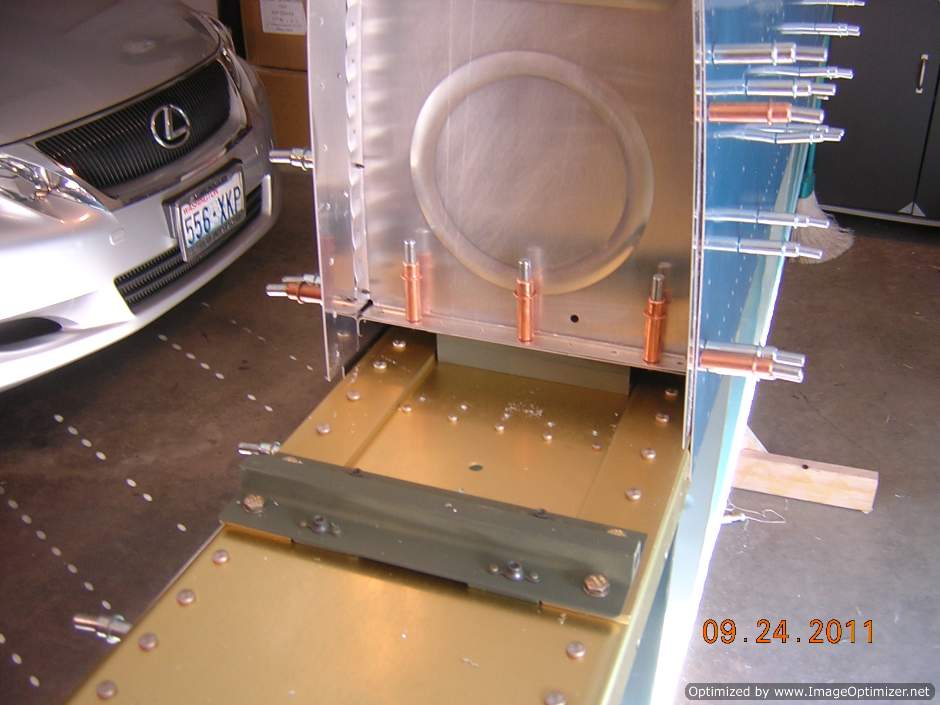
Outboard Z bracket is drilled
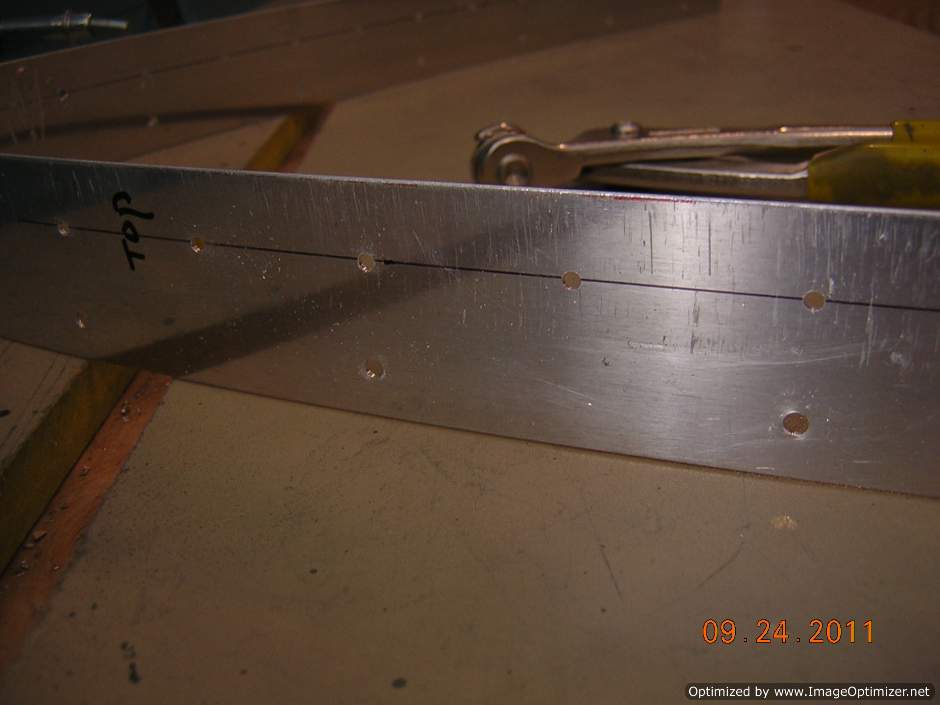
The joint plate is removed with the leading edge, got a chance to check the edge distance of the drilled holes. They all look good.
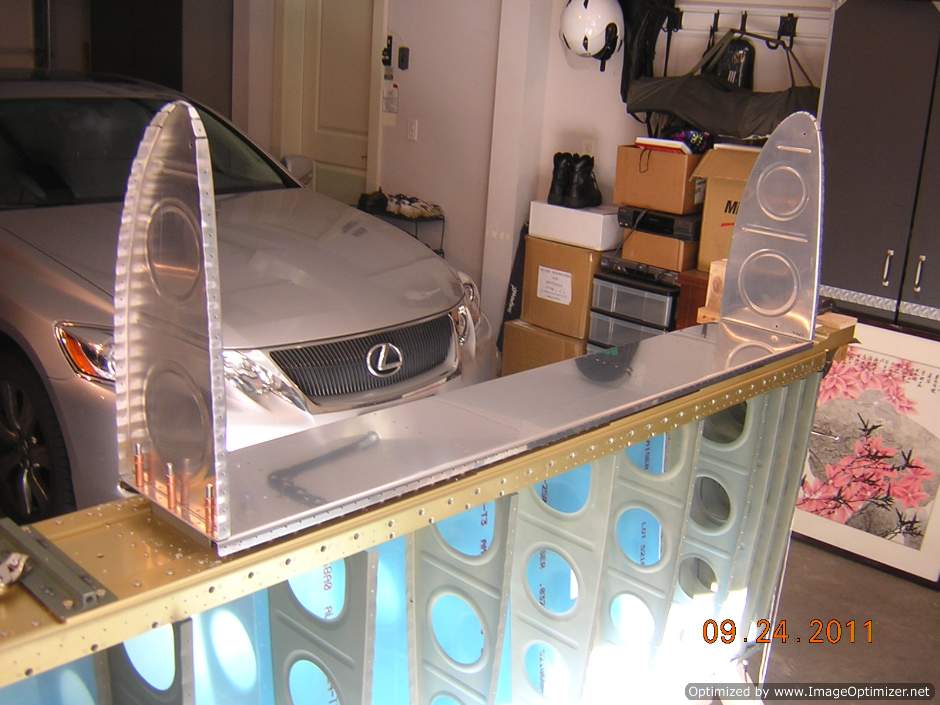
Skin and mid ribs of fuel tank are removed in order to drill other Z brackets using the baffle as a guide.
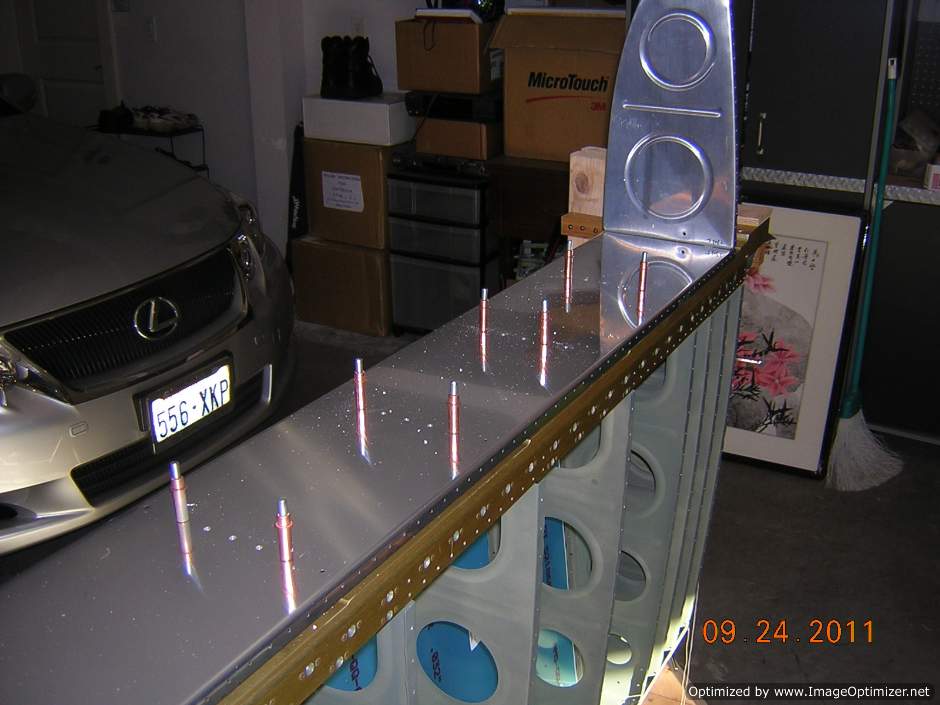
All Z brackets are drilled
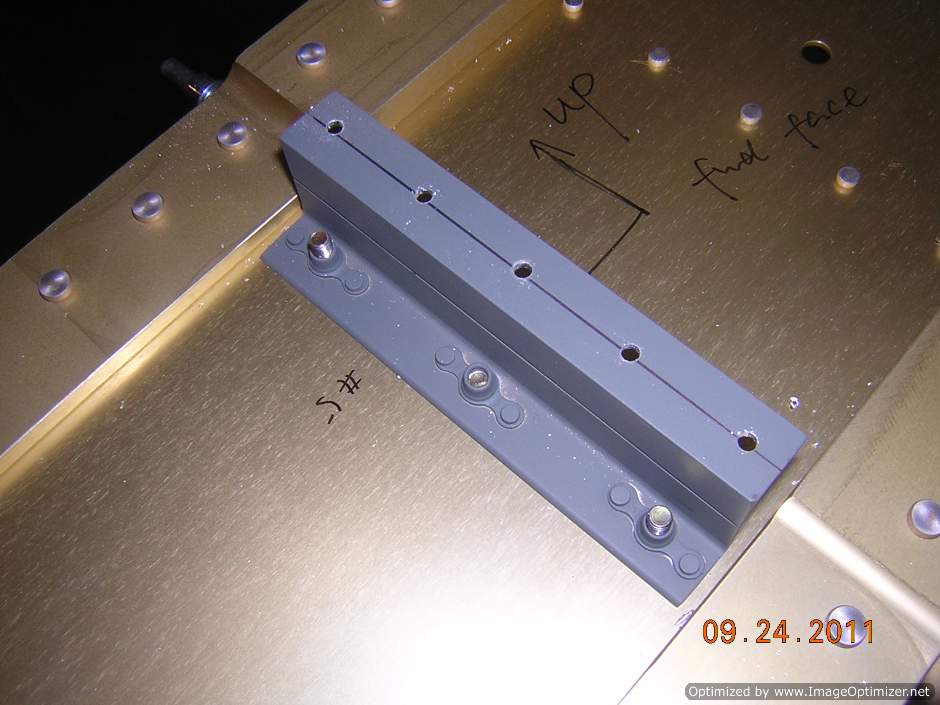
Edge distance of the holes on the Z brackets look good
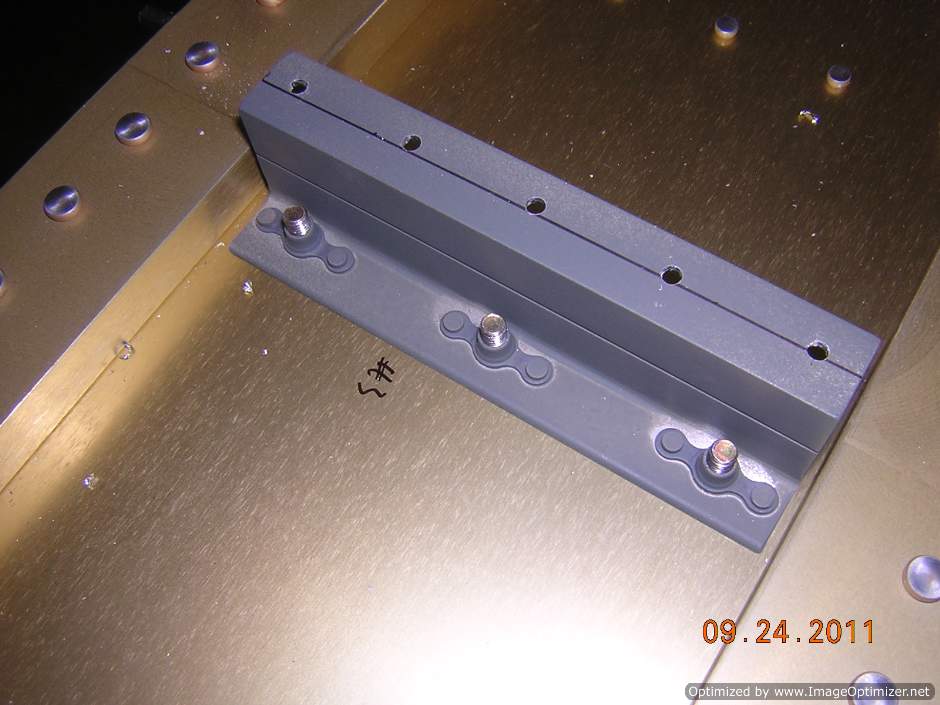
This bracket has holes slightly off-center, but the edge distance is not a concern. This s the worst of all 7 brackets
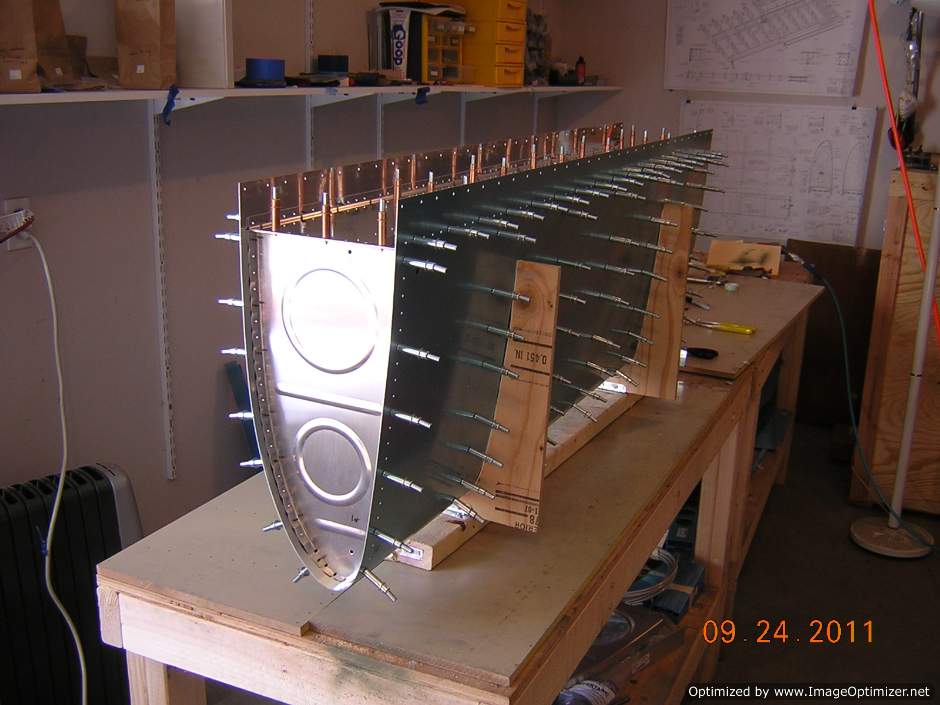
Fuel tank is re-assembled on cradle
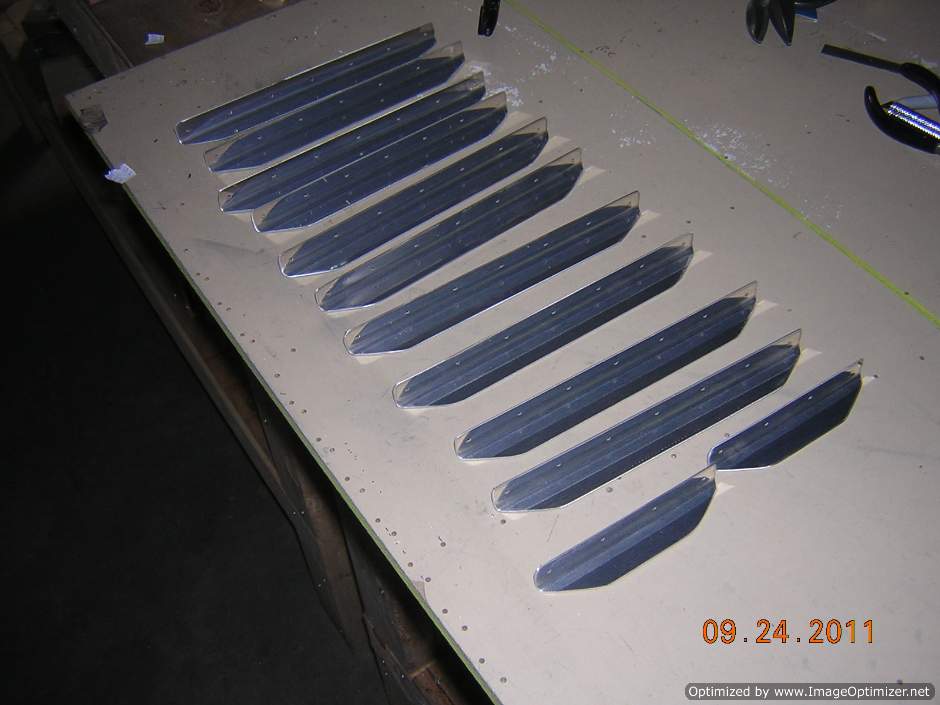
Time for stiffeners. Tank stiffener are roughly cut
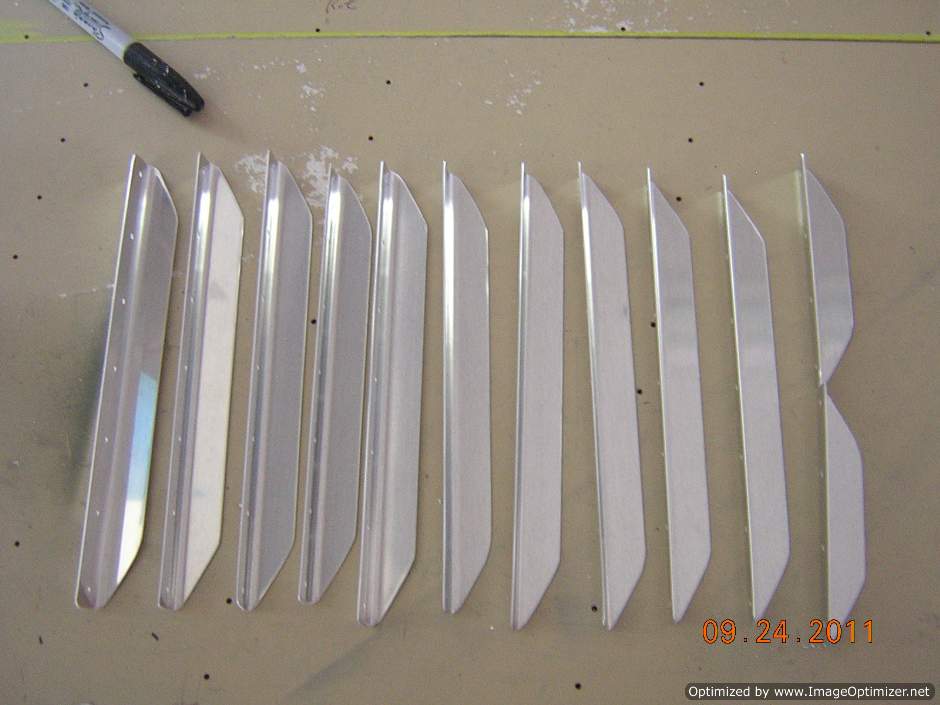
Tank stiffeners are done
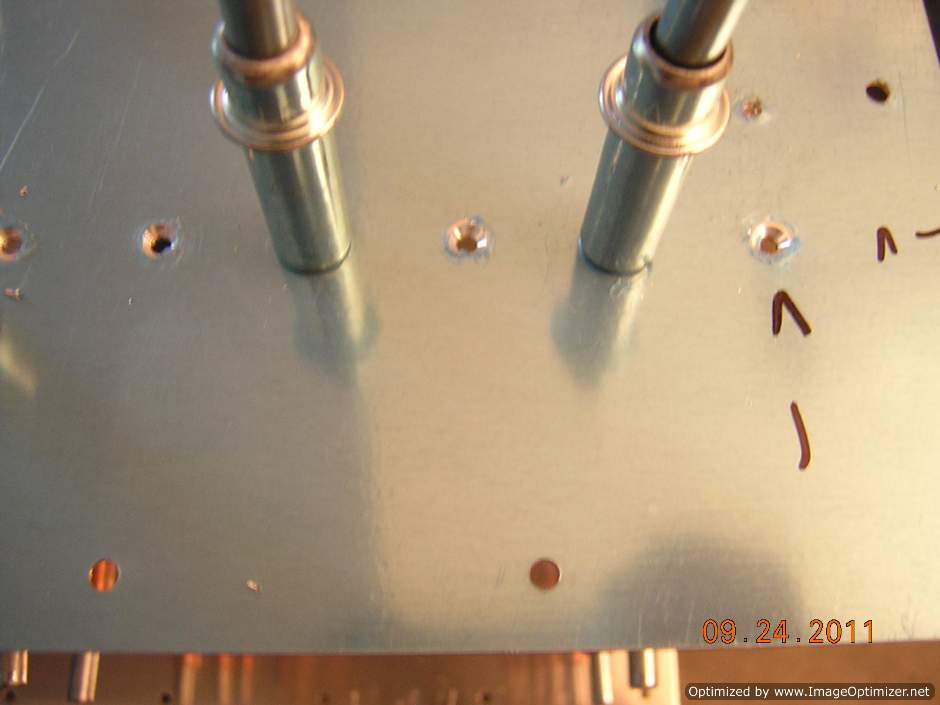
Now need to countersink the rivets holes on the tank skin that attach the tank skin to baffle
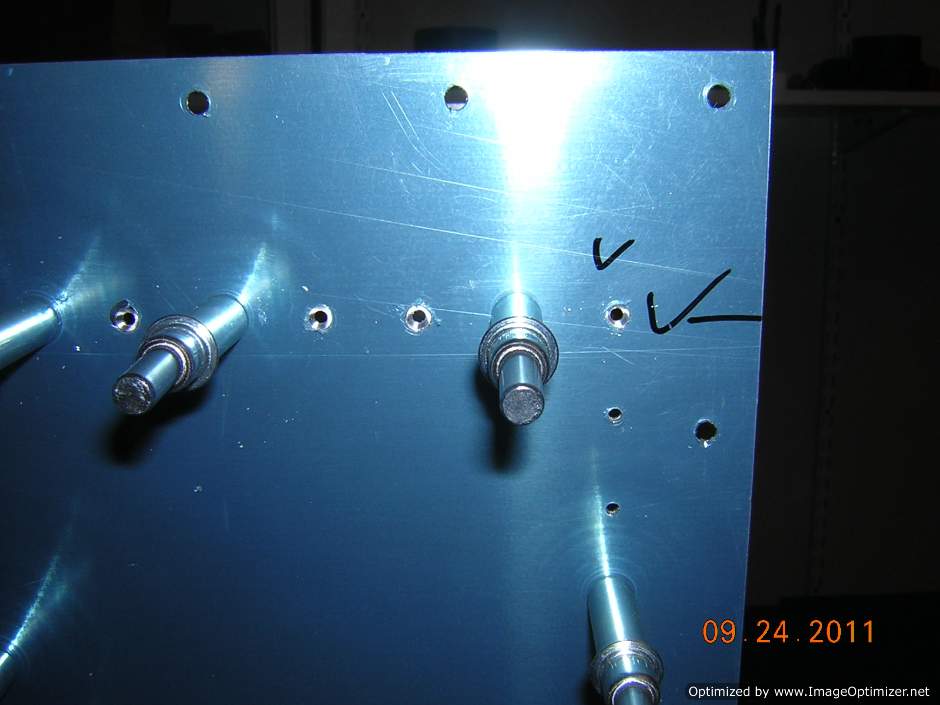
Tank skin after final drill, countersinking, and enlarging the screw holes to #19 size
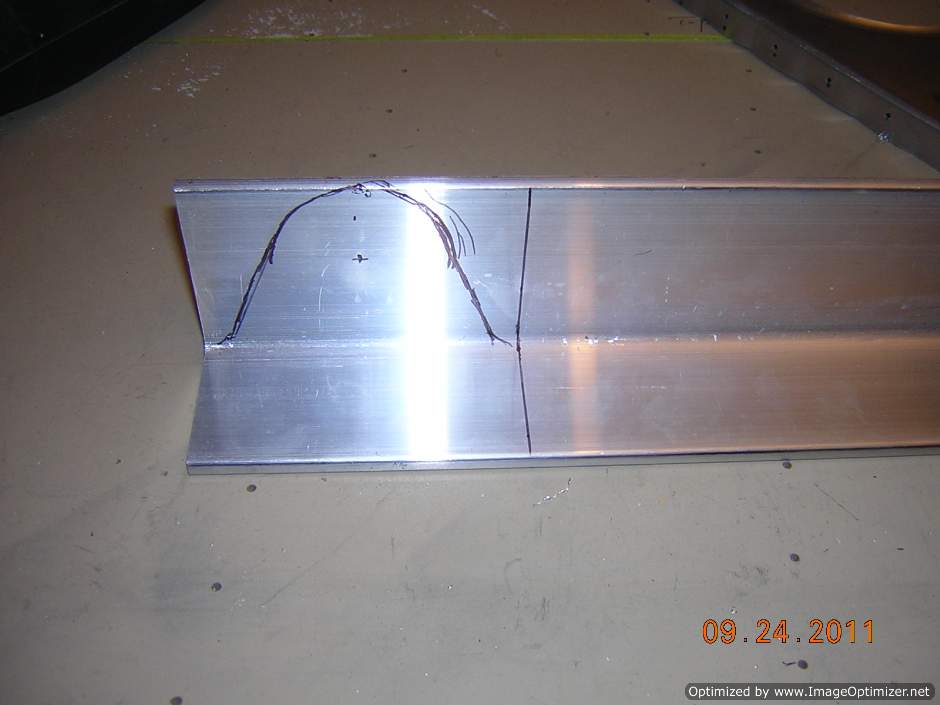
Time for the fuel tank to fuselage attaching bracket. The shape of the bracket is roughly drawn on the supplied angle
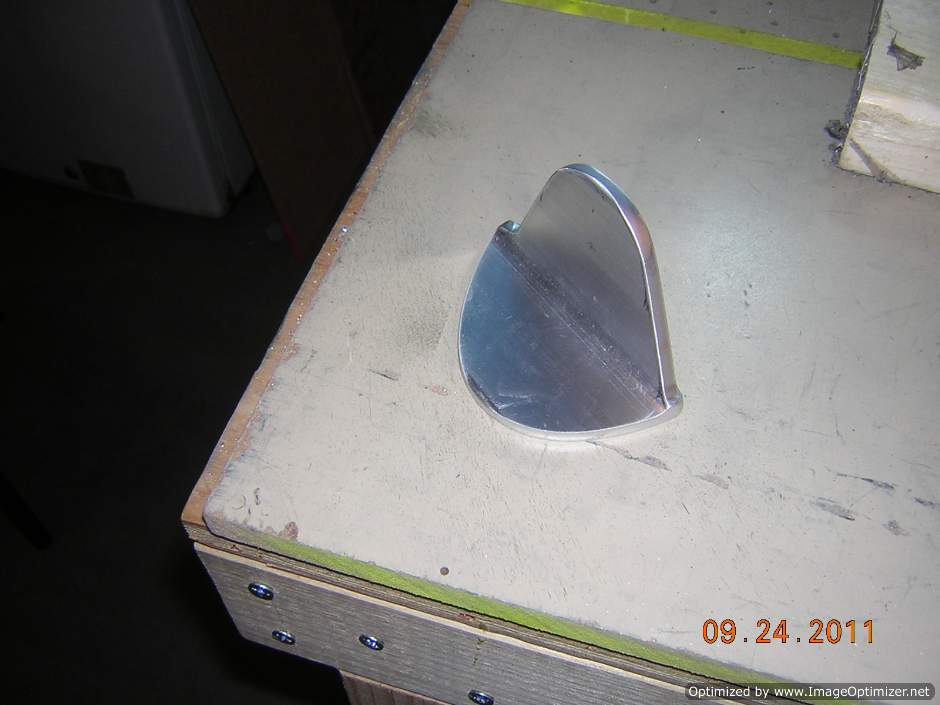
Attaching bracket is fabricated
