10-08-2011:

The inboard rib is riveted to skin. After that, the fuel tank attaching bracket and reinforce plate (on the interior side of the rib) are riveted to the rib. I had to trim the bracket a little more to get rib of the interference between two shop heads of the rib to skin rivets at the very leading edge. Also, I felt the -7 rivets called out in the plan are slightly short to rivet the bracket, but I still used -7 rivet per plan
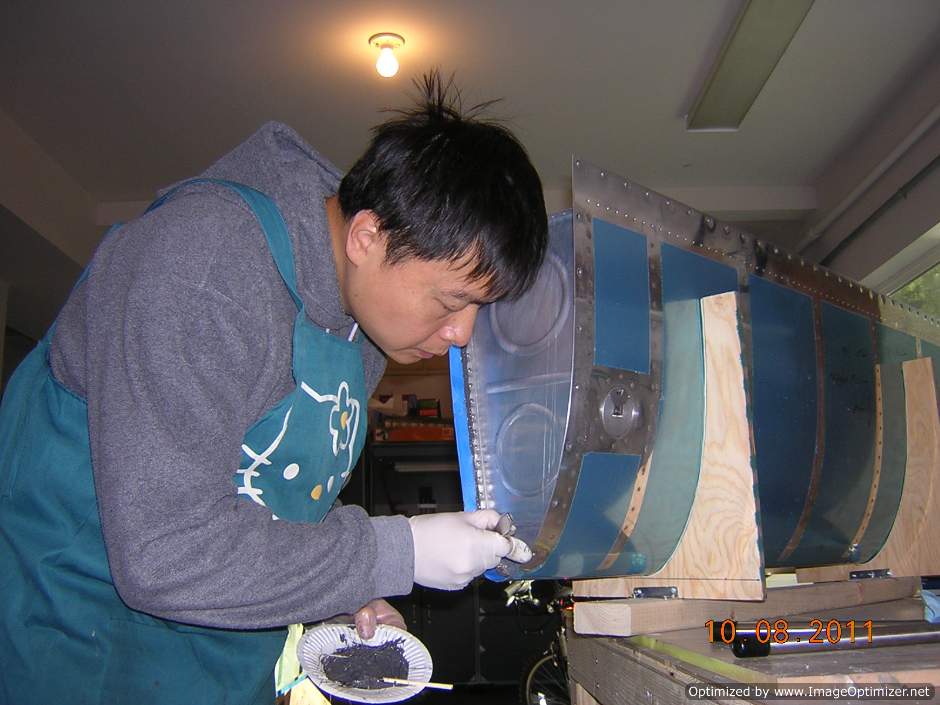
Applied more sealant to the outboard rib after riveting the outboard rib. Yes, I riveted the outboard rib after the inboard rib, even I "fay sealed" the outboard rib first
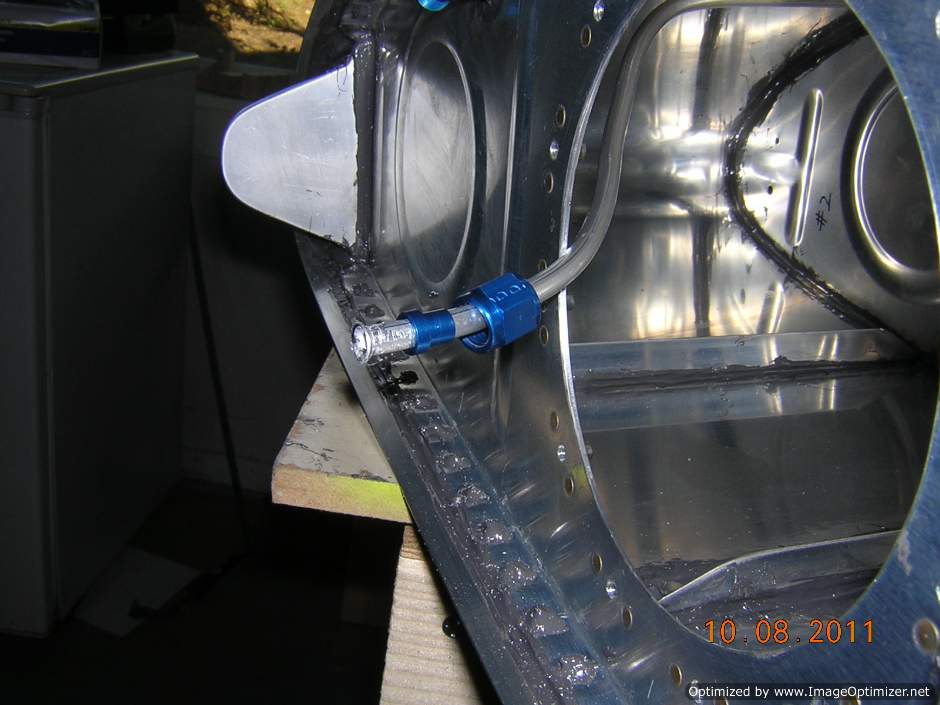
If I could do it again, I will have the vent line cut and flared before riveting the inboard rib. I found it difficult to do it afterward, I had to bent the tube quite bit to get it into the fuel tank. Also, don't forget to insert the fitting nut before flaring
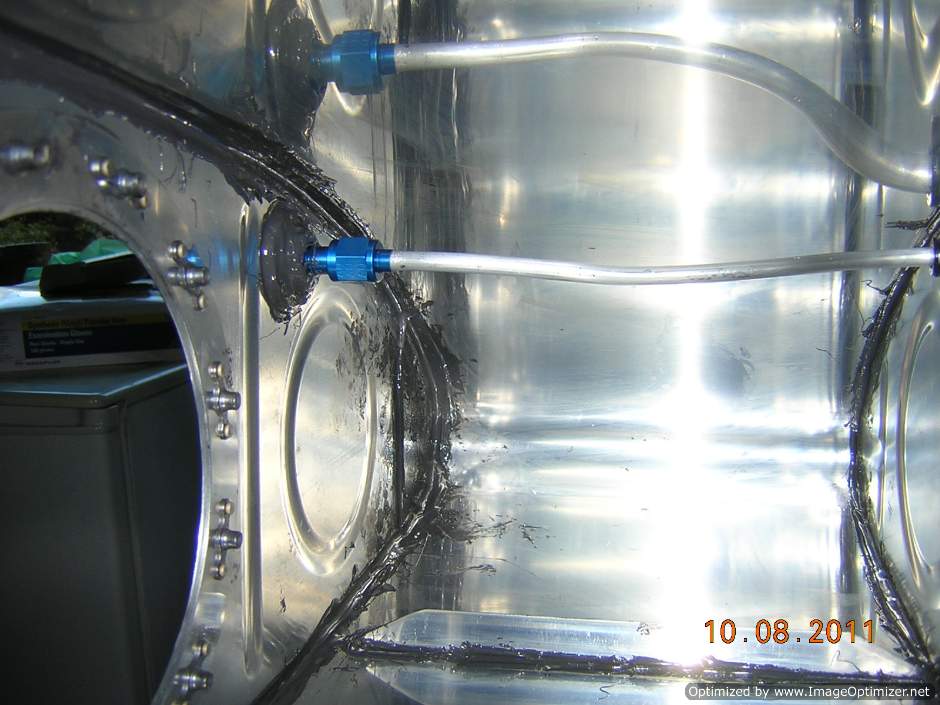
The vent line is in, fitting is tightened and sealed
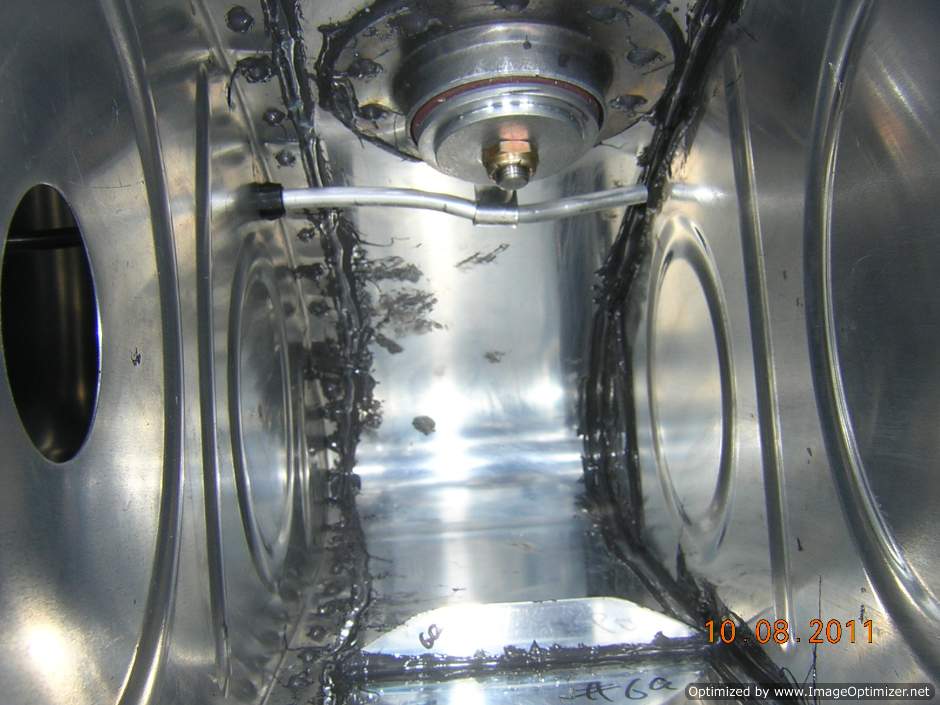
The exit of the vent line. The support from the cap flange is slight lower than the bushing, so I have to bend the line a bit. I will put some sealant between them before closing the tank
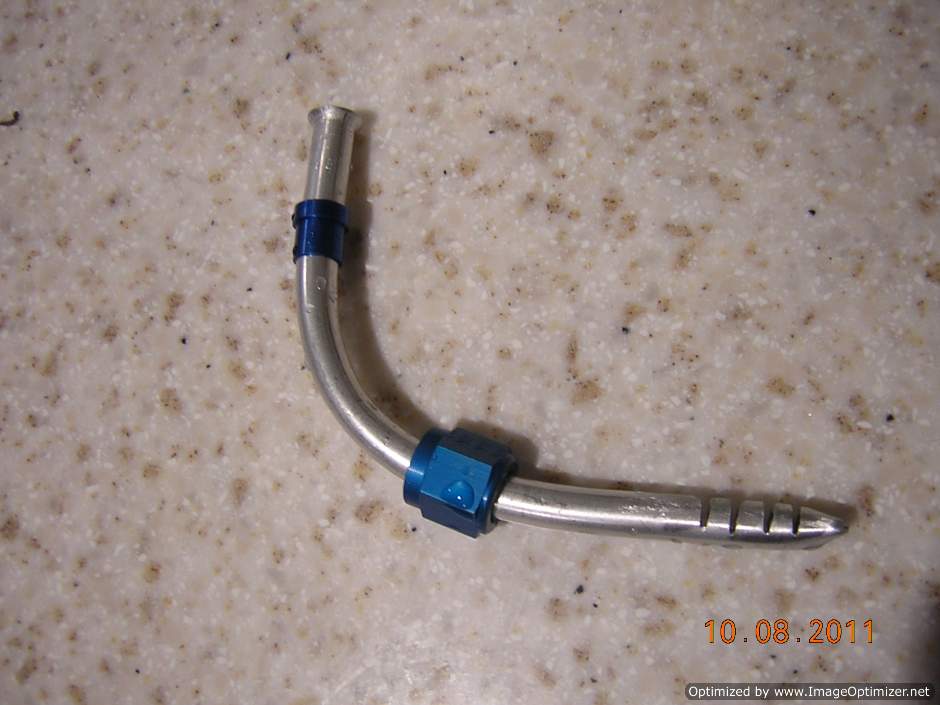
Fuel pickup line is fabricated. I cut four saw slot for the fuel entrance
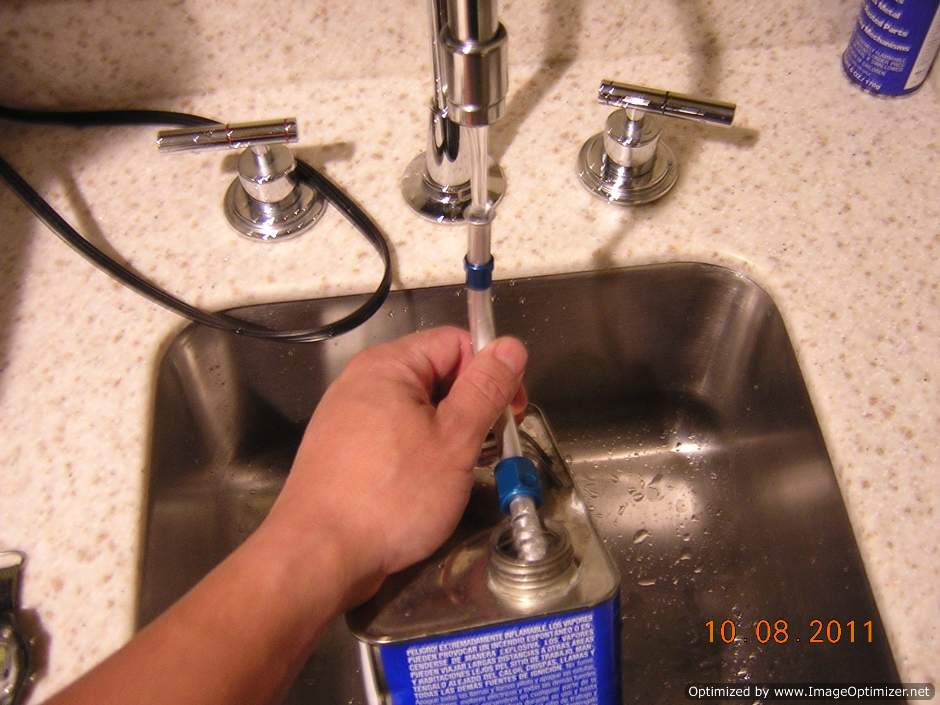
To make sure the four saw slot is enough for fuel delivery, I ran a simple test to see how long it will take for the pickup line to fill one gallon bucket (I just finished the first gallon acetone today).
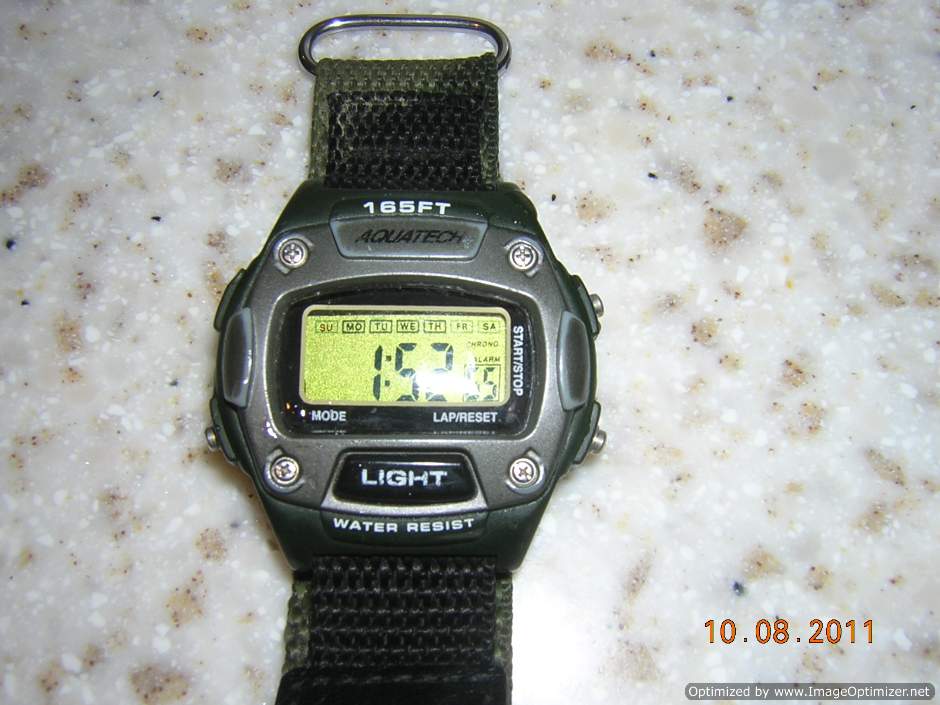
It took less than 2 min to fill one gallon under moderate pressure, that is more than 30 gph, enough for any engine that can be installed on a RV7
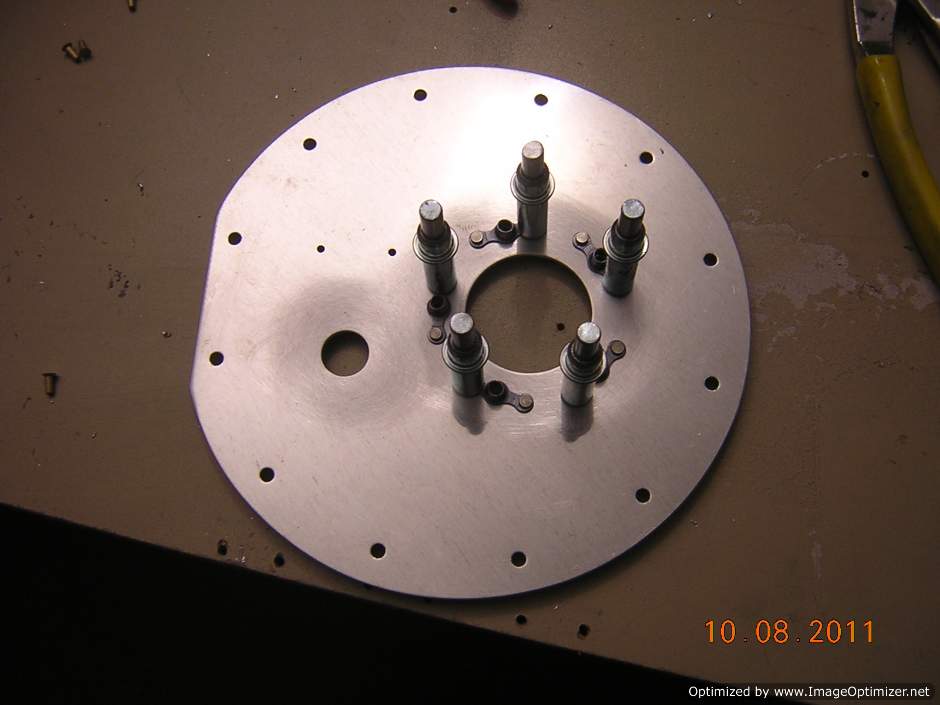
Start riveting the nutplates for float type fuel sender
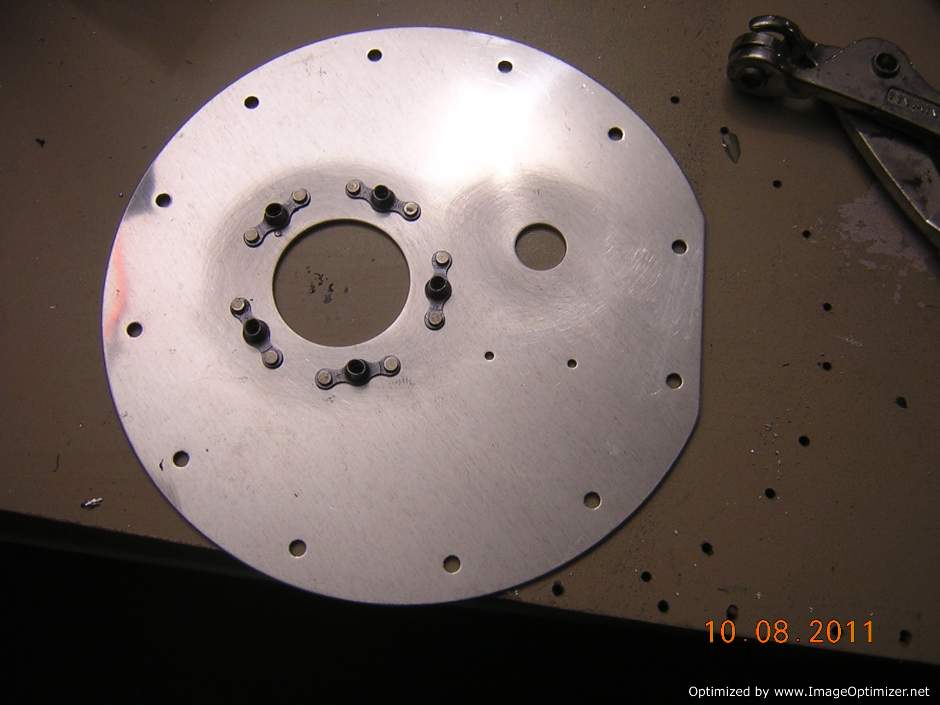
Nutplates done
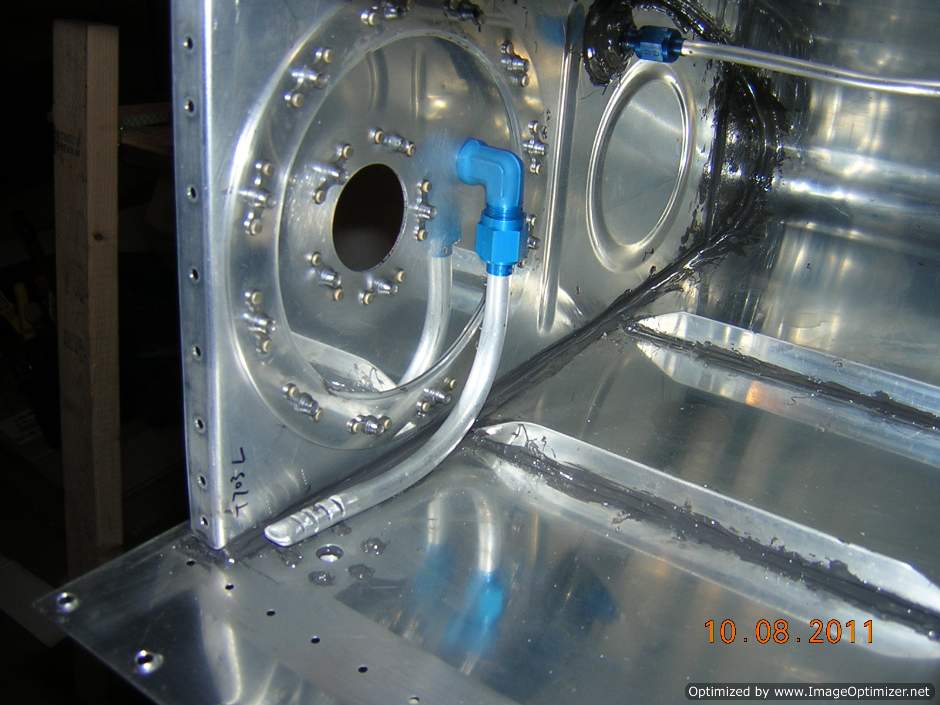
Fuel pickup line is trial fitted to the tank. It is a little too long, to big of a portion sitting on the bottom surface. Chafing is a concern to me here
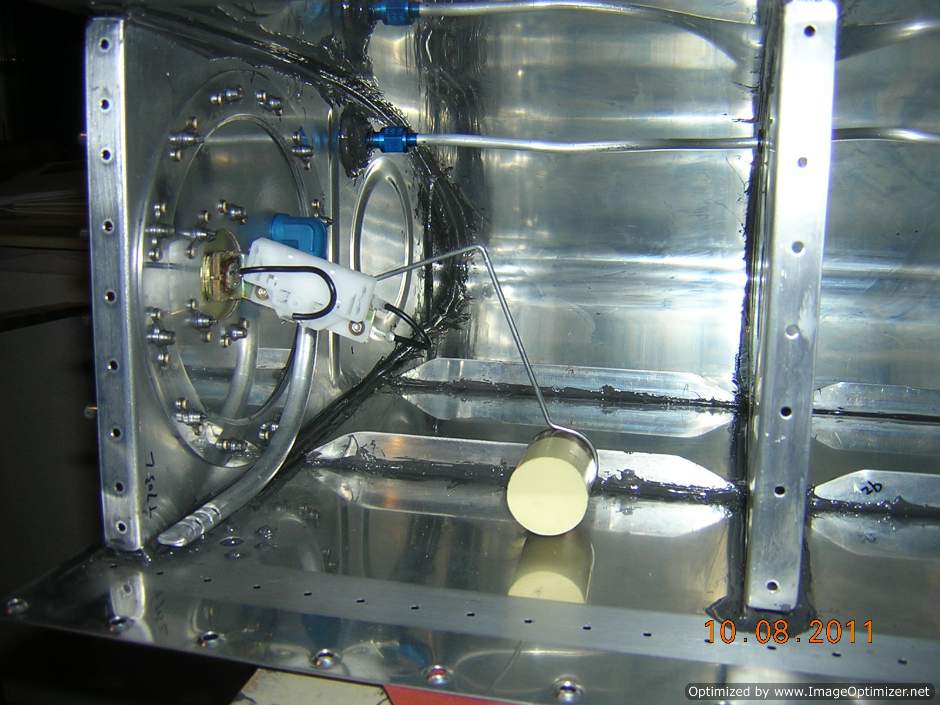
I cut the fuel pickup line about half inch, it looks better now. I also cut the wire steel for the float to length and bent it per plan. This is the float at empty state, there is still a gap between the float and bottom of the skin.
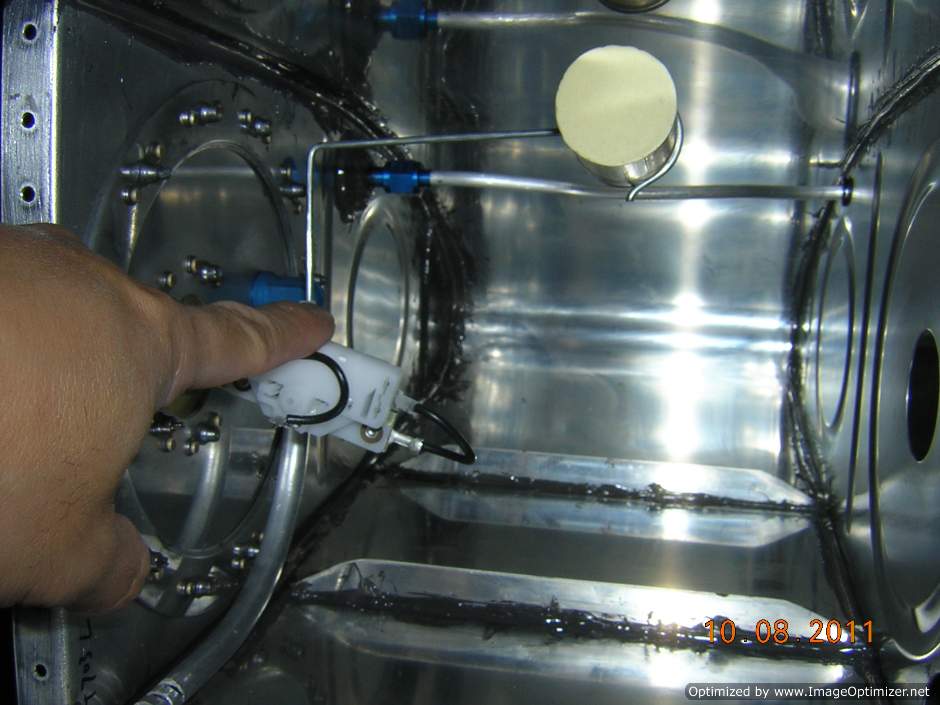
This the float at the full position, it is about at the vent line height
